Developers often engage in debates over which technology or architecture is superior. A common example is the discussion around Poly-Repos versus Mono-Repo.
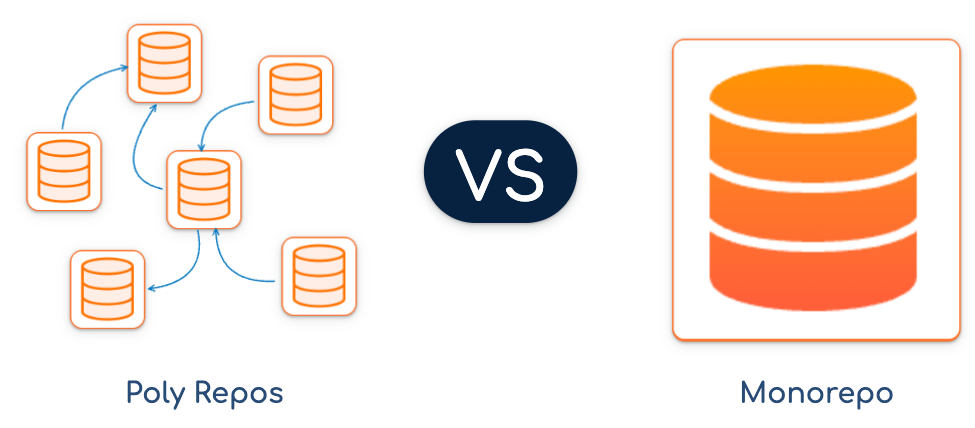
However, the reality is that there’s no one-size-fits-all solution — it all depends on the specific context, and both architectures have their merits.
In this article, I will explore how we can integrate the advantages of both approaches and manage distributed Monorepos effectively, considering both decentralized and centralized perspectives.
Why Poly-Repos?
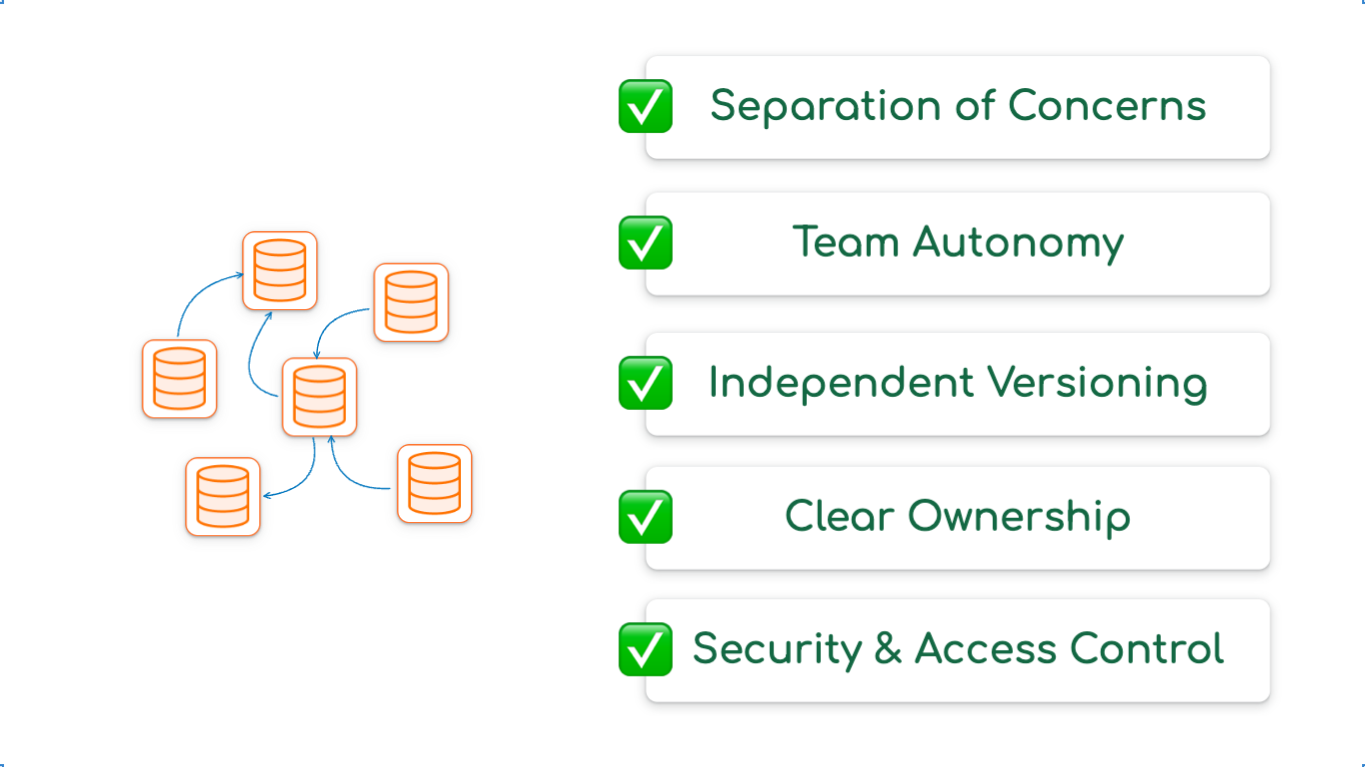
Separation of Concerns: Maintaining separation at both the code and repository level ensures that teams focus solely on their areas, minimizing risks of unintended side effects from unrelated changes.
Team Autonomy: Teams have the freedom to manage their repositories, choose tools, and control release schedules, fostering ownership and more flexible development.
Independent Versioning: Each repository defines its versioning strategy, reducing the chance of breaking changes and simplifying dependency management.
Security and Access Control: Provides fine-grained access control, enhancing security by restricting access to sensitive code or data based on necessity.
Why Mono-Repo?
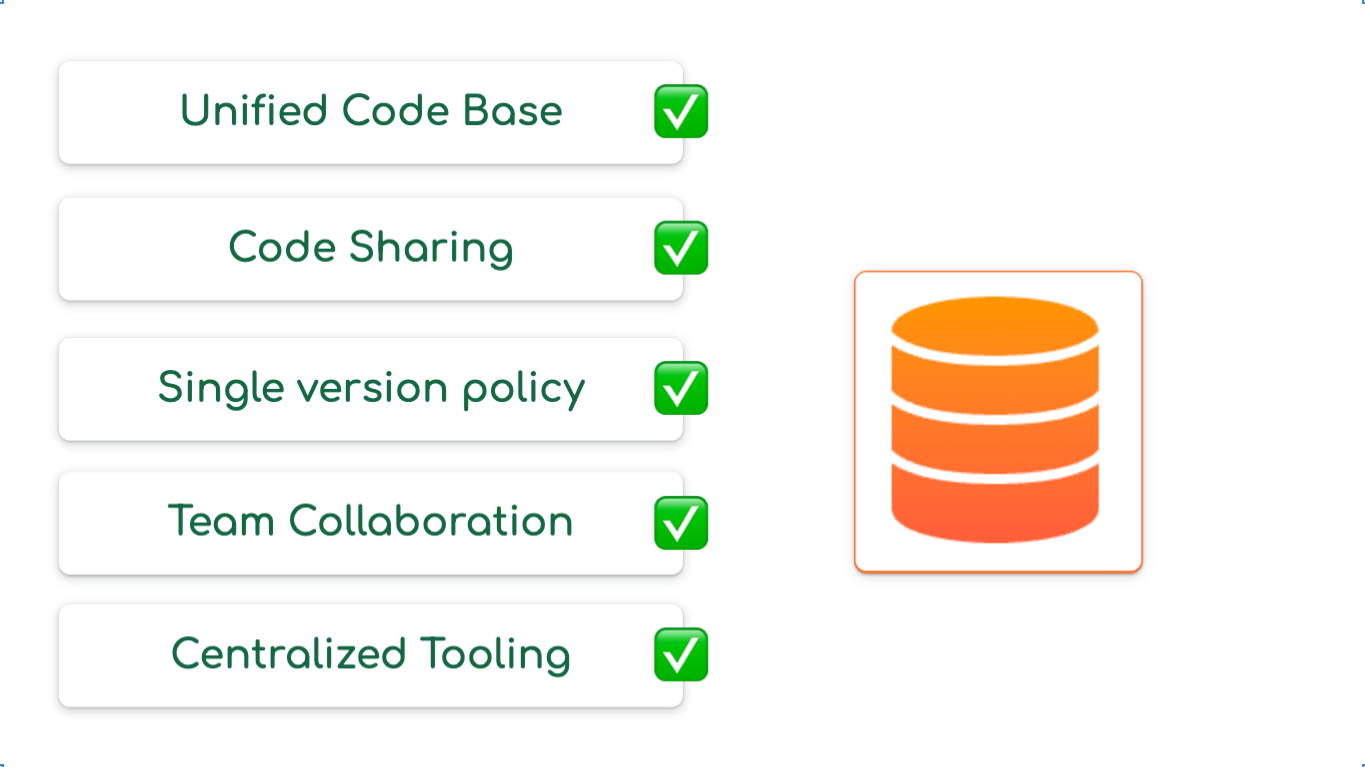
Unified Codebase: Simplifies development by bringing everyone together towards a shared organizational goal, promoting cross-functional collaboration.
Code Sharing: Facilitates seamless sharing of code, libraries, and utilities across projects, reducing duplication and ensuring consistency.
Single Version Policy: Ensures a single version of dependencies is maintained, preventing conflicts and guaranteeing compatibility.
Team Collaboration: Working within a shared codebase naturally enhances team collaboration and problem-solving.
Centralized Tooling: Unifies tools, CI/CD pipelines, and processes, streamlining workflows and reducing maintenance overhead.
The Best of the Two Worlds
There are scenarios where using multiple repositories is more practical. For example, if you provide services to distributors but want to keep your internal code private, or if you’re a software company building a framework for customers.
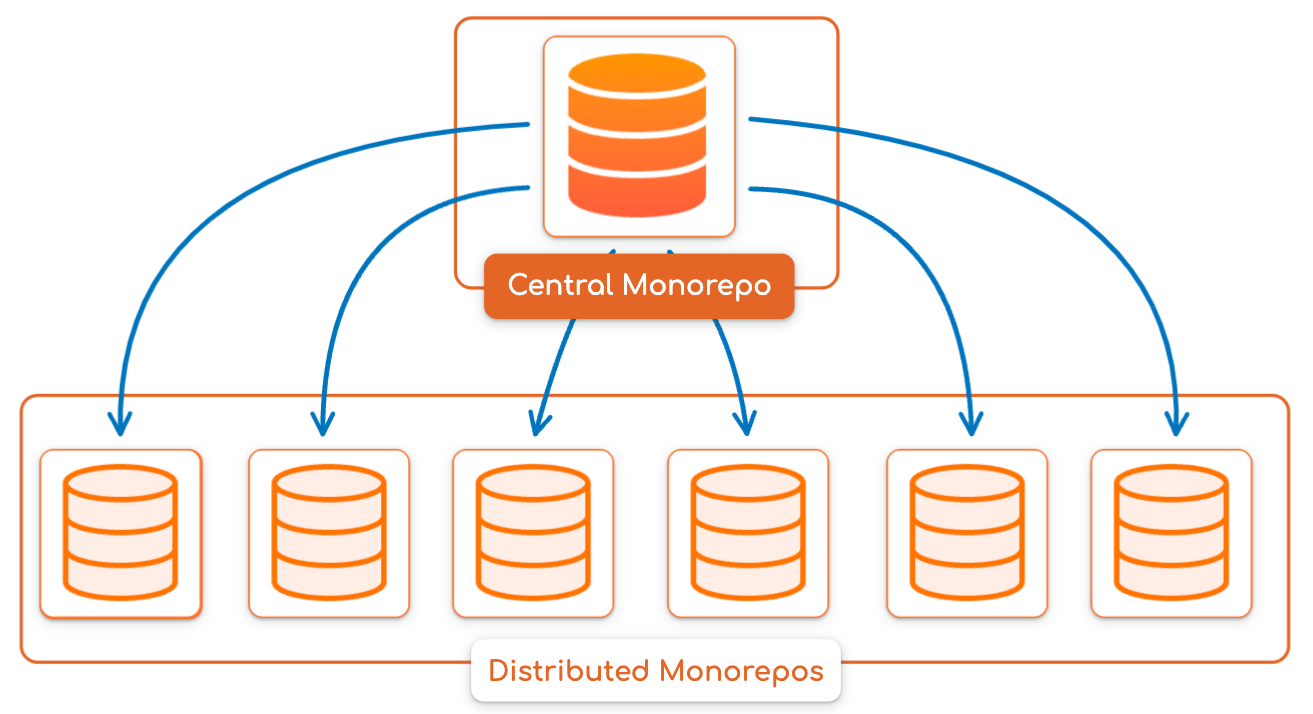
In these cases, a Poly-Monorepo architecture is beneficial. It allows you to have a central Monorepo for internal code that provides tools, features, or frameworks, while supporting multiple distributed Monorepos for different clients or teams.
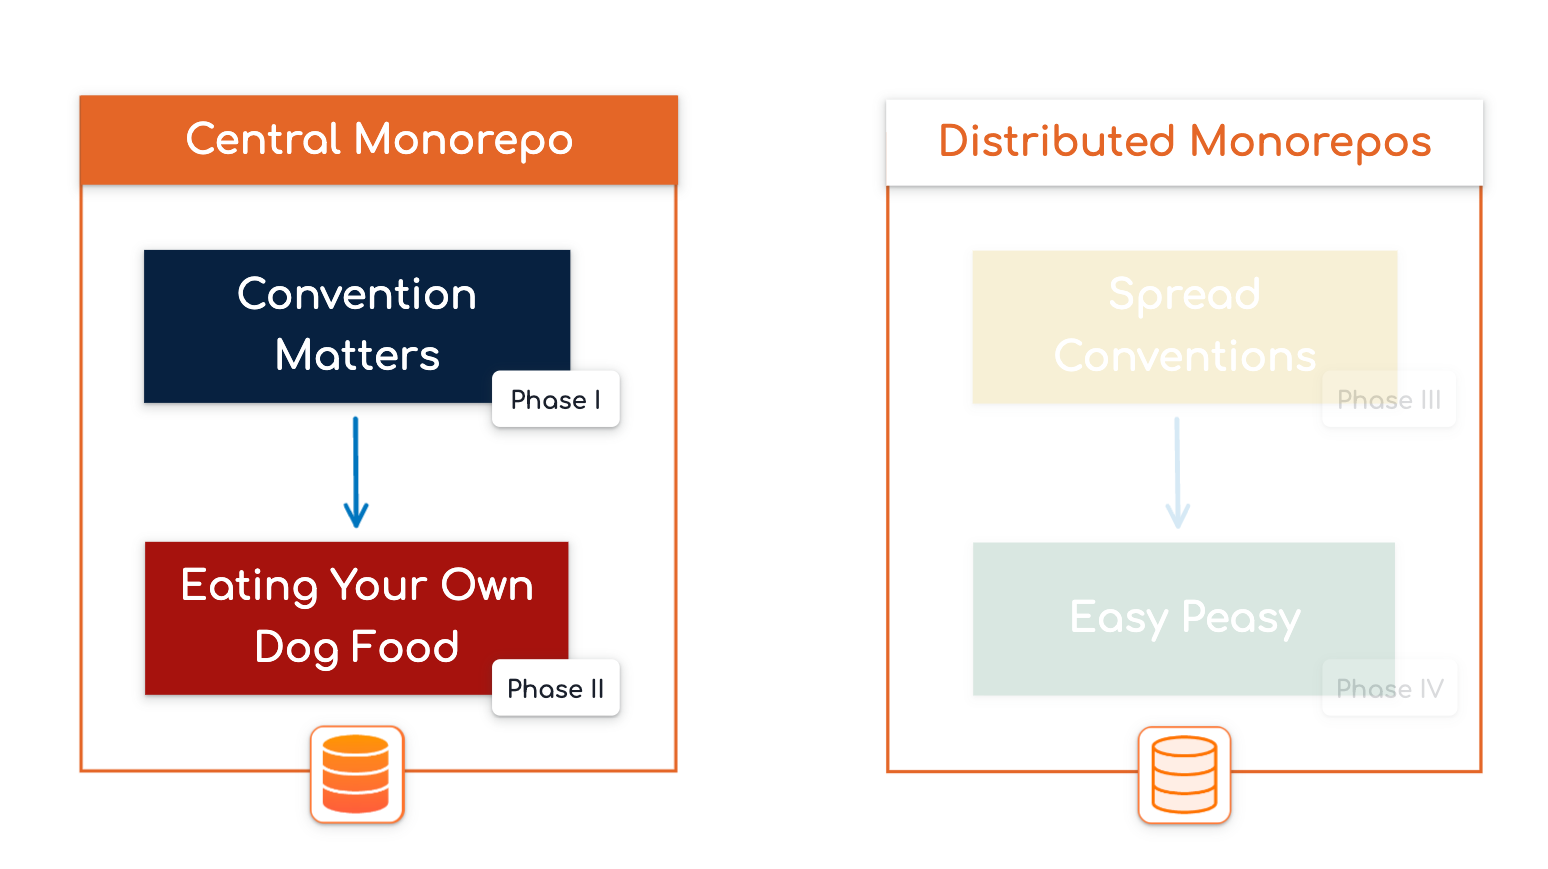
To illustrate how that architecture can be put in place and maintained, I structured the approach into four phases:
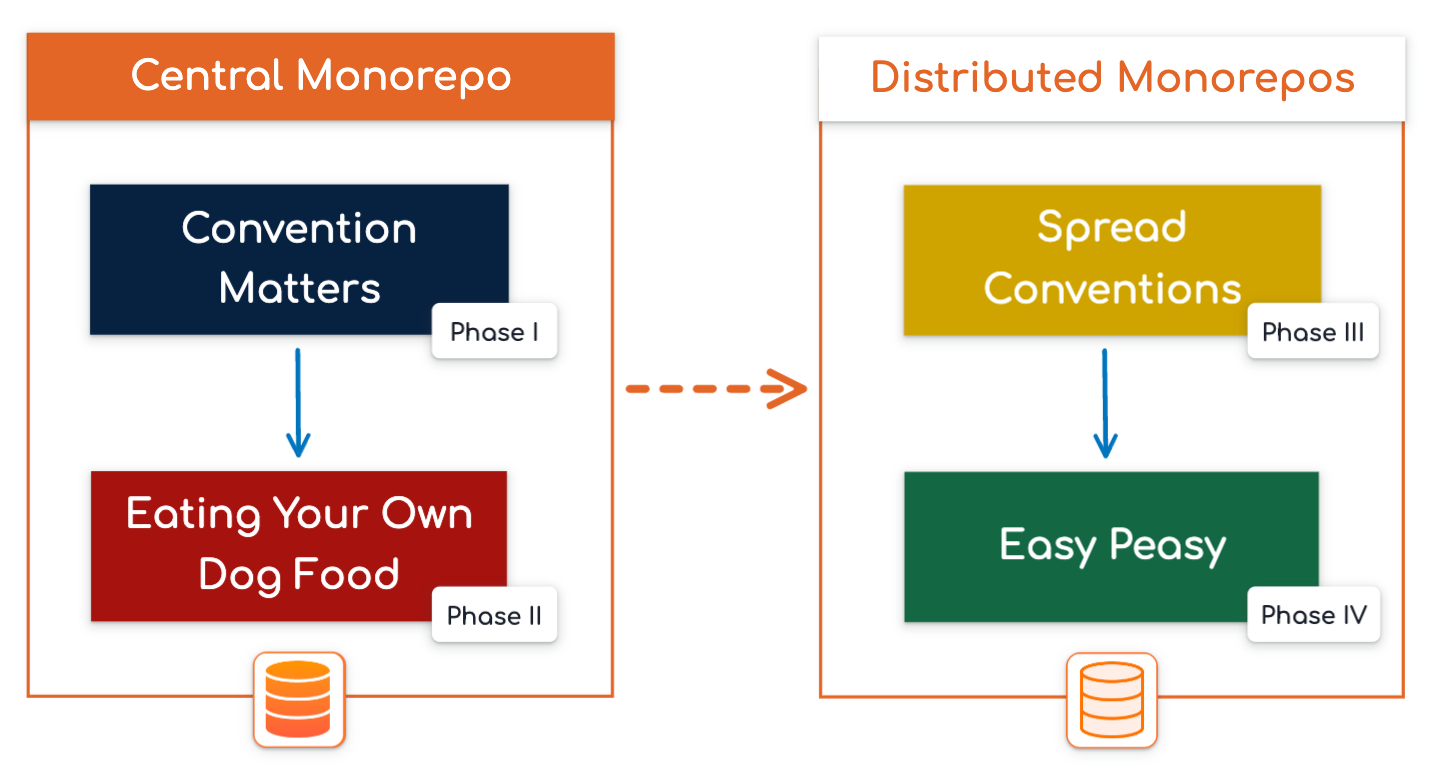
Before starting to manage Distributed Monorepos, it is important to establish an architecture that defines and enforces conventions in your Central Monorepo.
Then, you can create a process to ensure Distributed Monorepos are continuously aligned with the Central Monorepo conventions.
Phase I. Conventions Matters
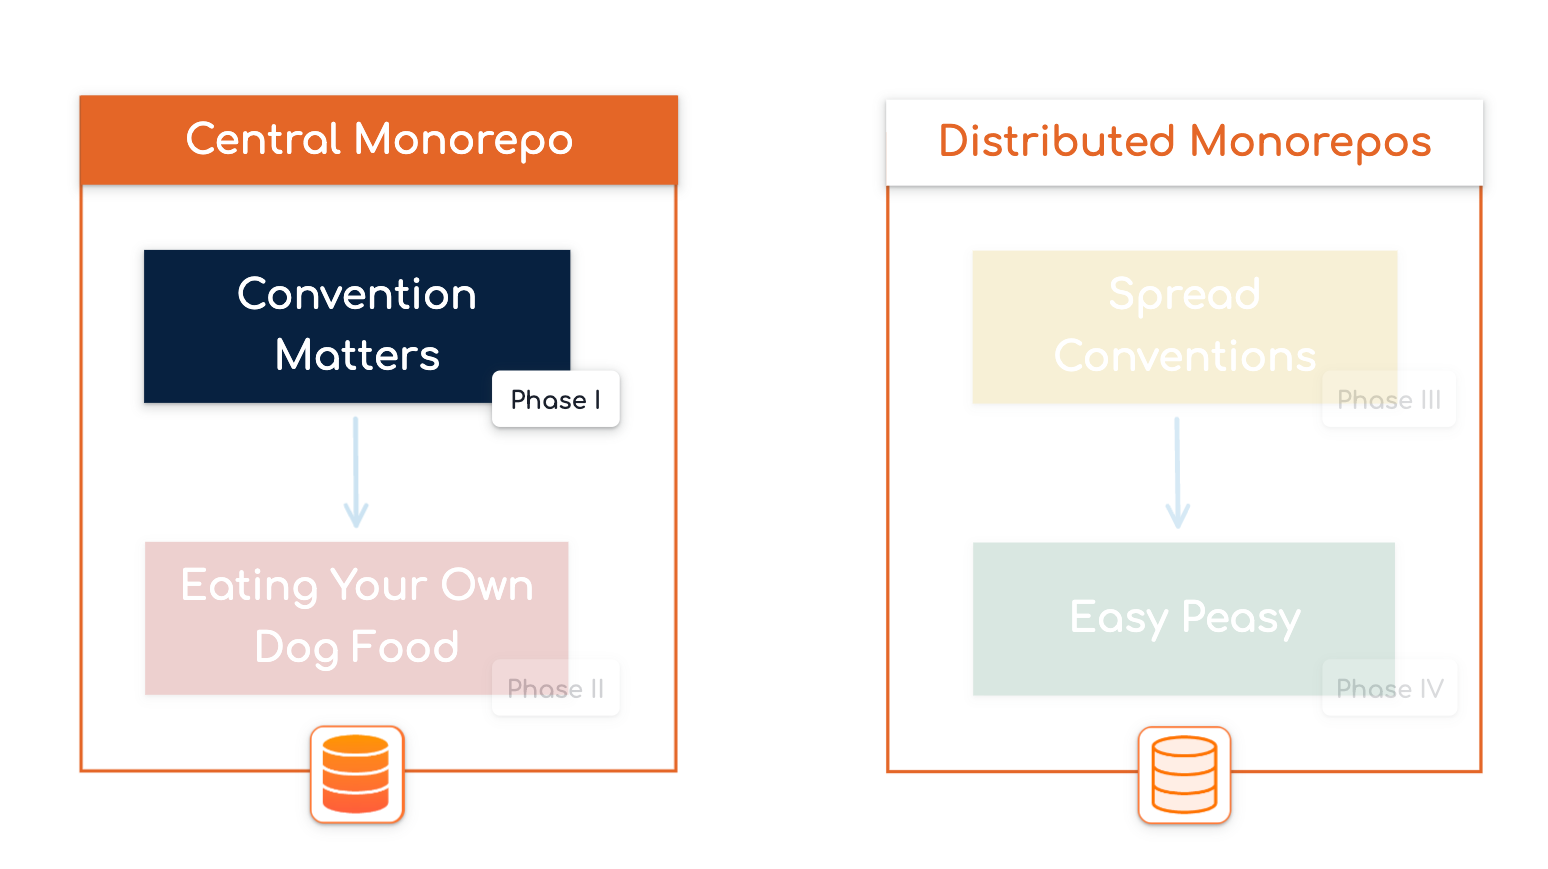
Choosing the Monorepo architecture can be motivated by various reasons. One of them is the desire for alignment and unification, to facilitate transversal development and capitalize on code reusability.
Establishing conventions helps developers orient themselves and capitalize on shared practices, reducing friction and decision-making.
Having a set of conventions defines your repository’s architecture and software strategy. Coding by conventions reduces the number of decisions developers need to make, allowing them to focus on feature implementation.
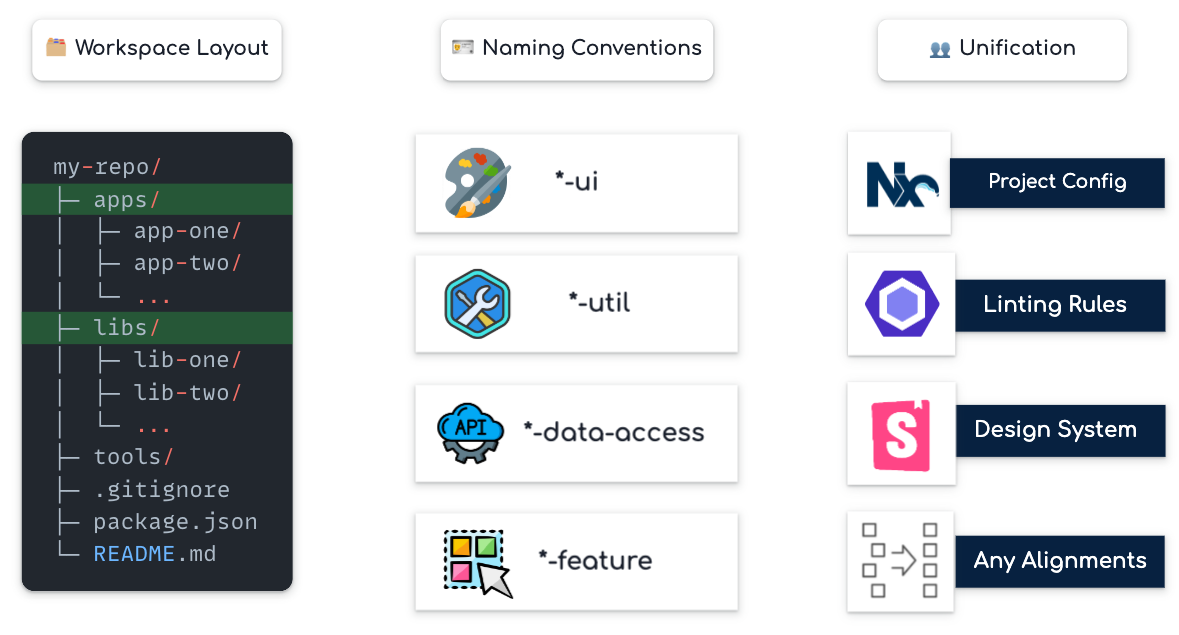
Conventions can be defined in many ways: by structuring your workspace, by naming projects in a specific way, or by re-using common configurations, etc.
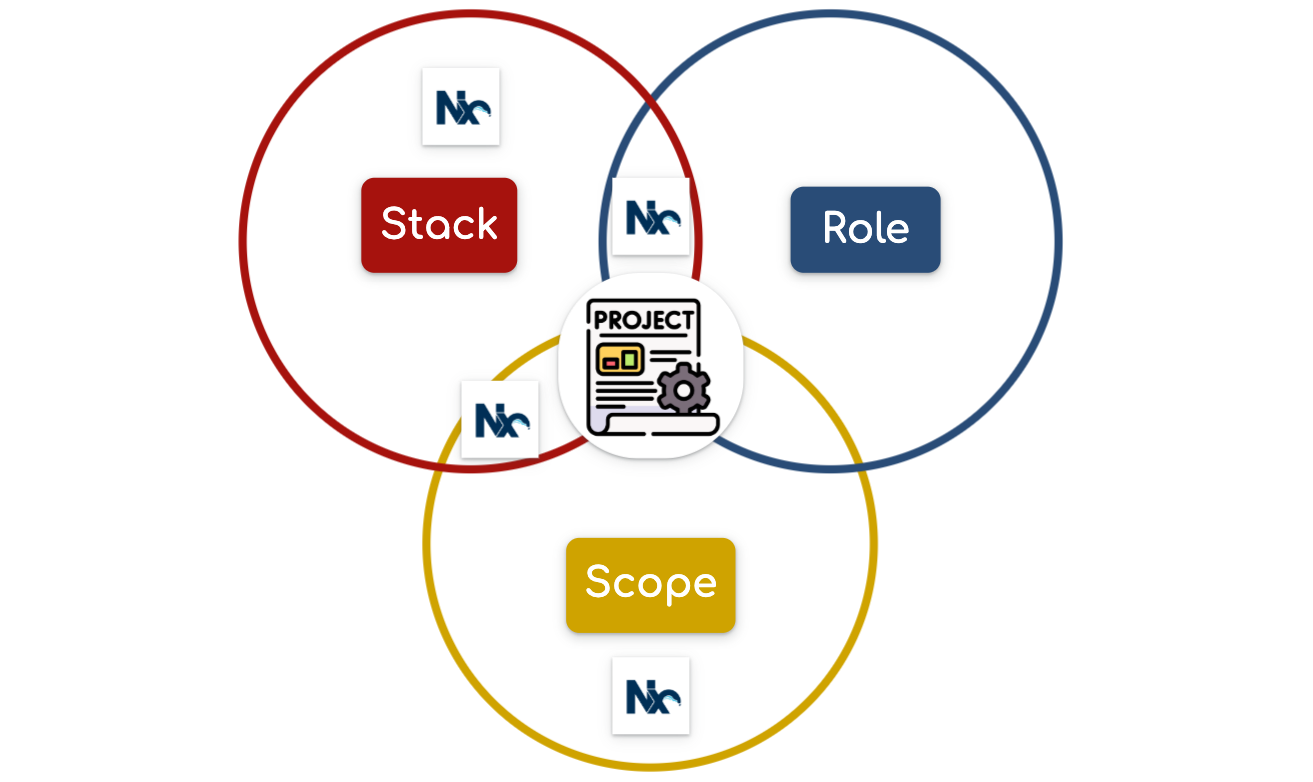
When you consolidate your conventions, you’ll be able to categorize your projects into different Project-Types, which are defined by multiple dimensions:
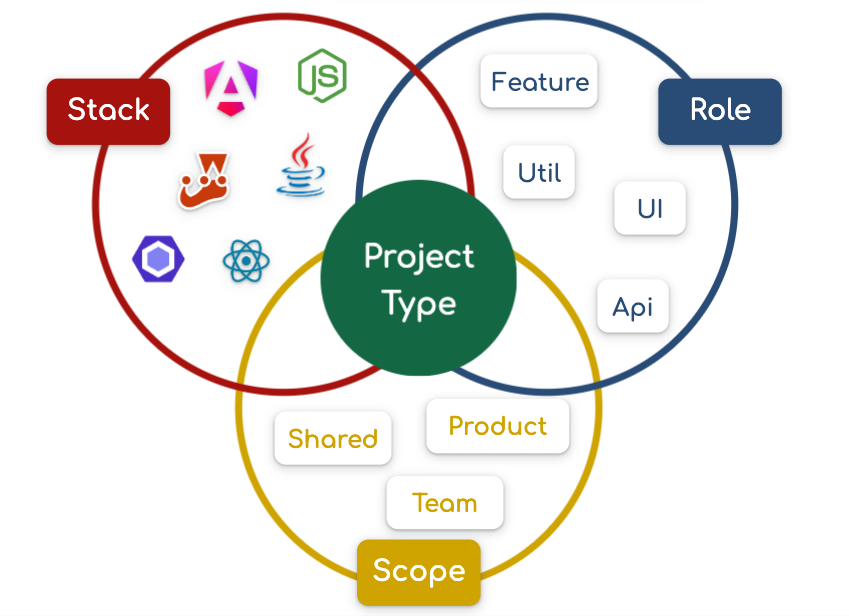
Your Project-Type can be determined by:
Stack: The tech stack used in your project (languages, frameworks, tools, etc.).
Role: The role of the project in your workspace, such as a feature, utility, etc.
Scope: The scope of your project, which could be based on product, team, location, etc.
Of course, this list of dimensions is not strict. The idea is that each project can be composed of multiple conventions.
Related Article:⚡ The Super Power of Conventions with Nx.
Phase II. Eating Your Own Dog Food
Defining conventions is important, but using them is the bare minimum 🙂. This is why it’s crucial to define a strategy for how these conventions will be applied:
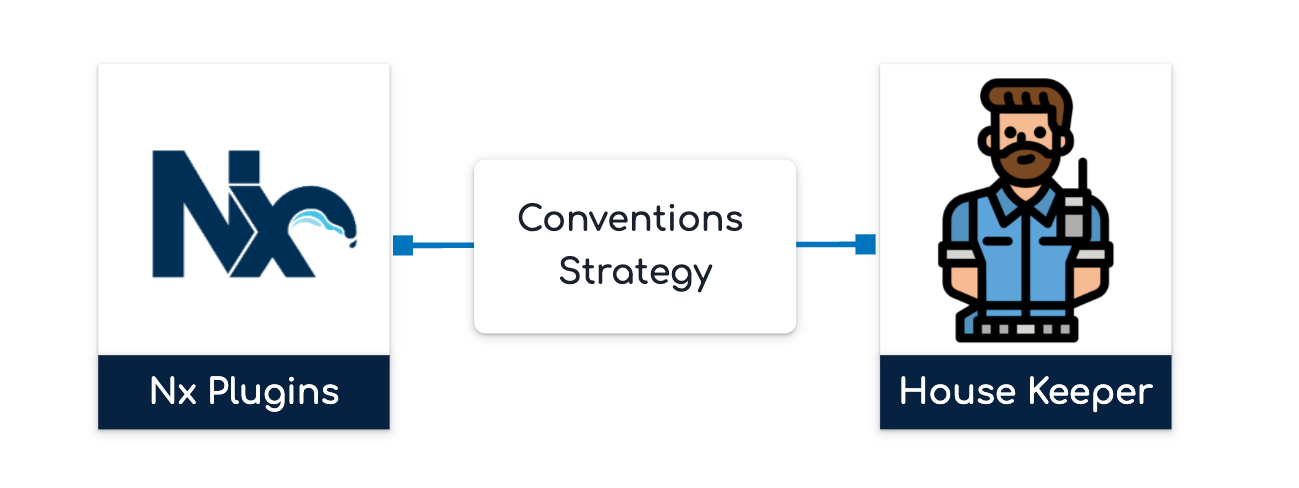
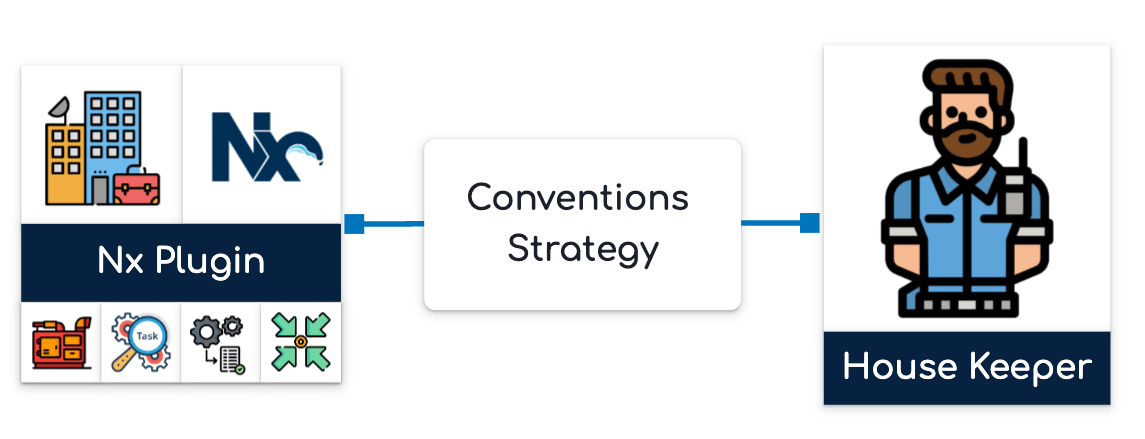
I usually identify two key components in this strategy:
Nx Plugins Architecture: A set of tools that help developers follow common conventions.
House Keeper: A tool/CLI that ensures conventions are followed and validates that the workspace is still aligned with those conventions.
Nx Plugin Architecture
The Nx plugin architecture consists of a set of Nx plugins within your Monorepo.
An Nx plugin is a specific type of Nx project, and you can generate it using the Nx generator @nx/plugin:plugin:
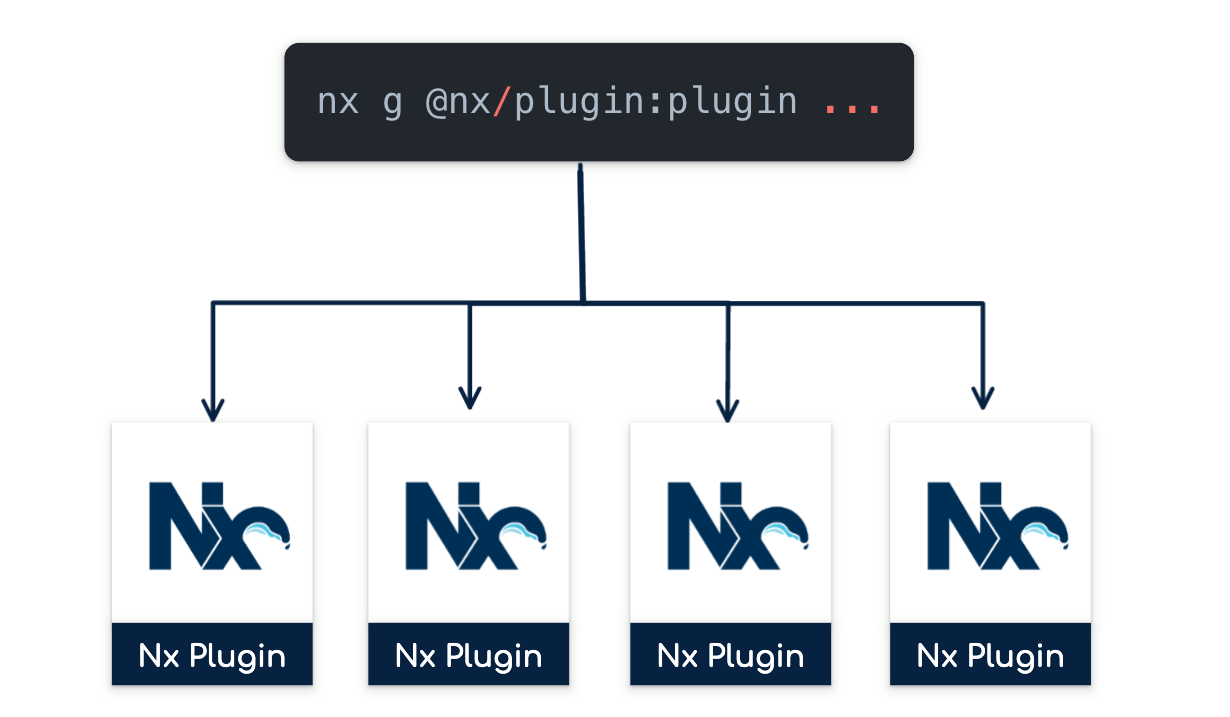
As mentioned above, you’ll encounter multiple Project-Types in your Monorepo. A Project-Type can be defined by multiple Nx plugins:
These plugins can be grouped into different categories:
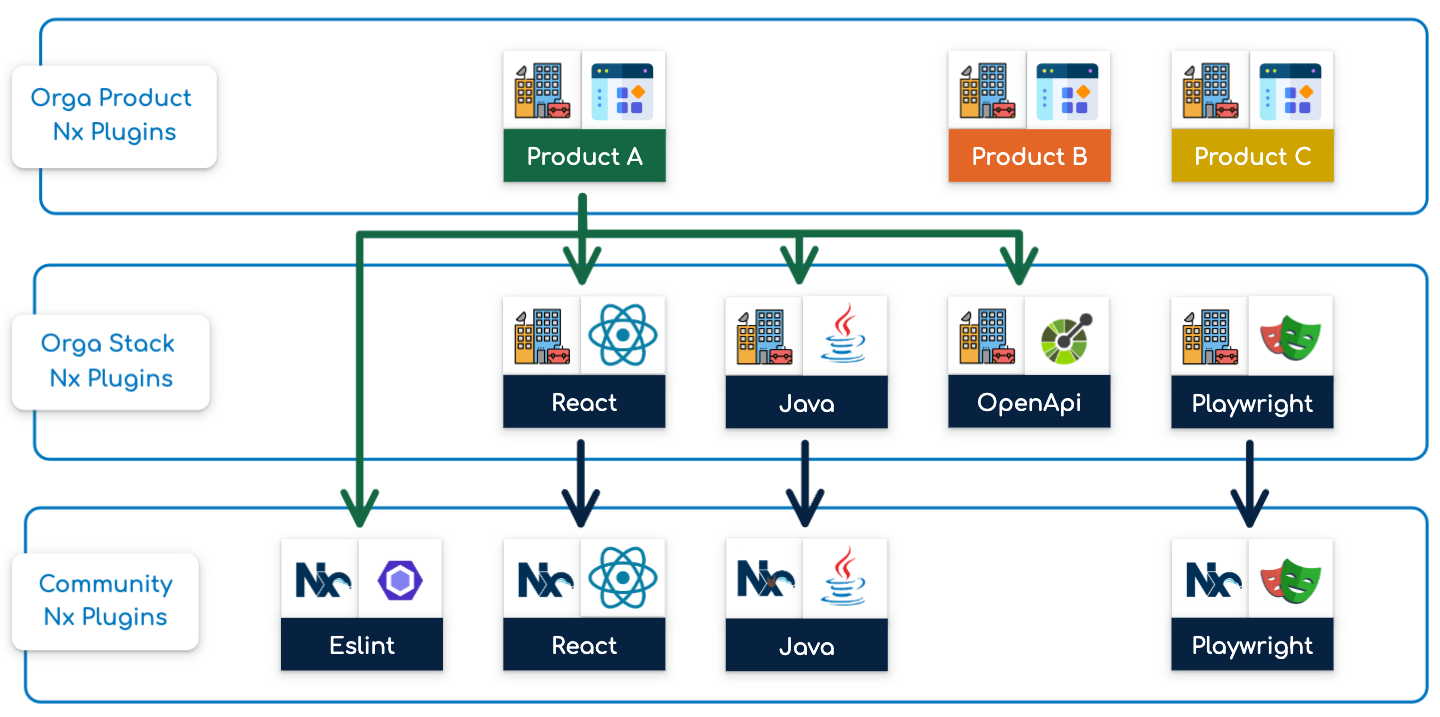
Community: These plugins are not directly part of your Monorepo but can be used by your projects. I recommend following external standards as much as possible.
Stack: These plugins are generated and maintained within your Monorepo. They define a technology stack, usually extending community plugins and specifying configurations or adding extra steps.
Product: These plugins are generated and maintained within your Monorepo. They often re-use multiple internal plugins and configure them to implement a specific software architecture.
Of course, this list of layers is not strict. The idea is to have multiple layers representing specific contexts.
Each Nx plugin can serve multiple roles and features to help define and enforce your conventions:
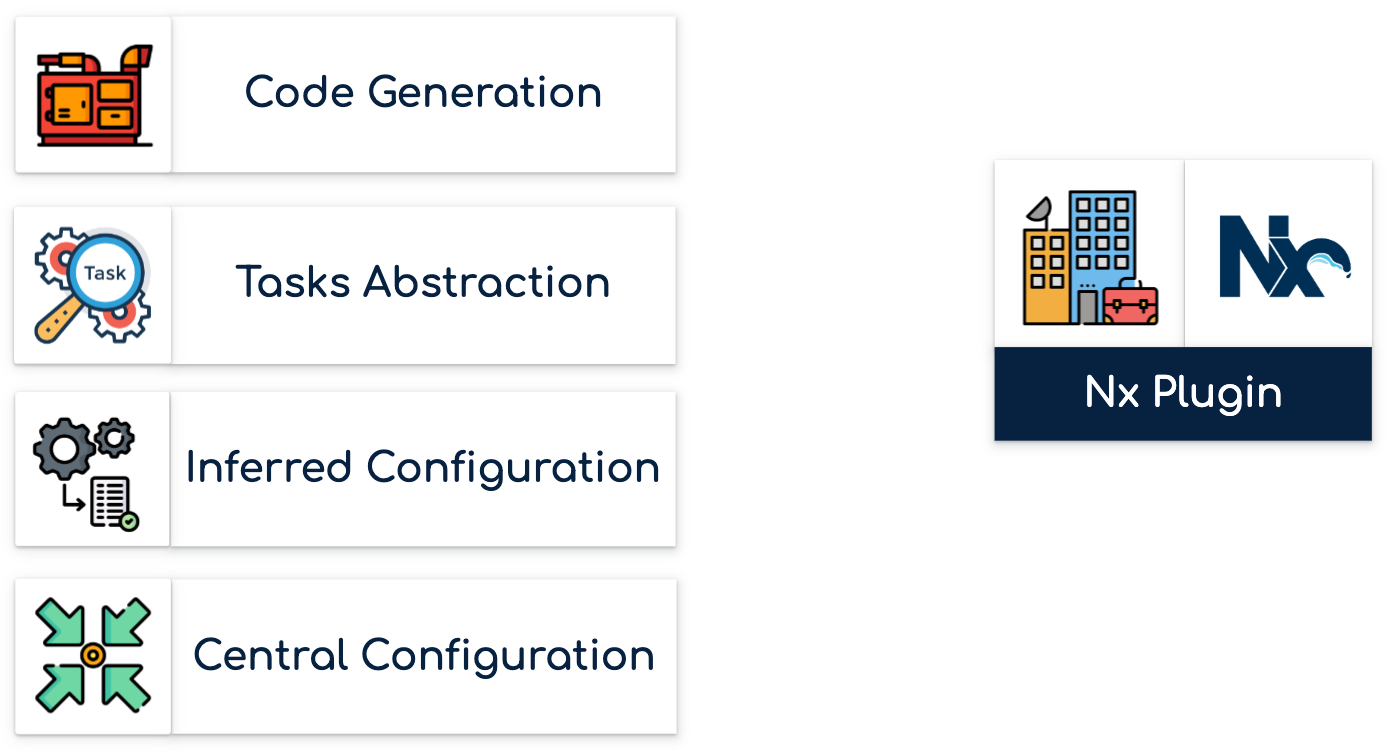
Code Generation
This is the starting point to ensure that generated code follows your initial configurations and conventions. With Nx, you can use generators to produce any type of code:
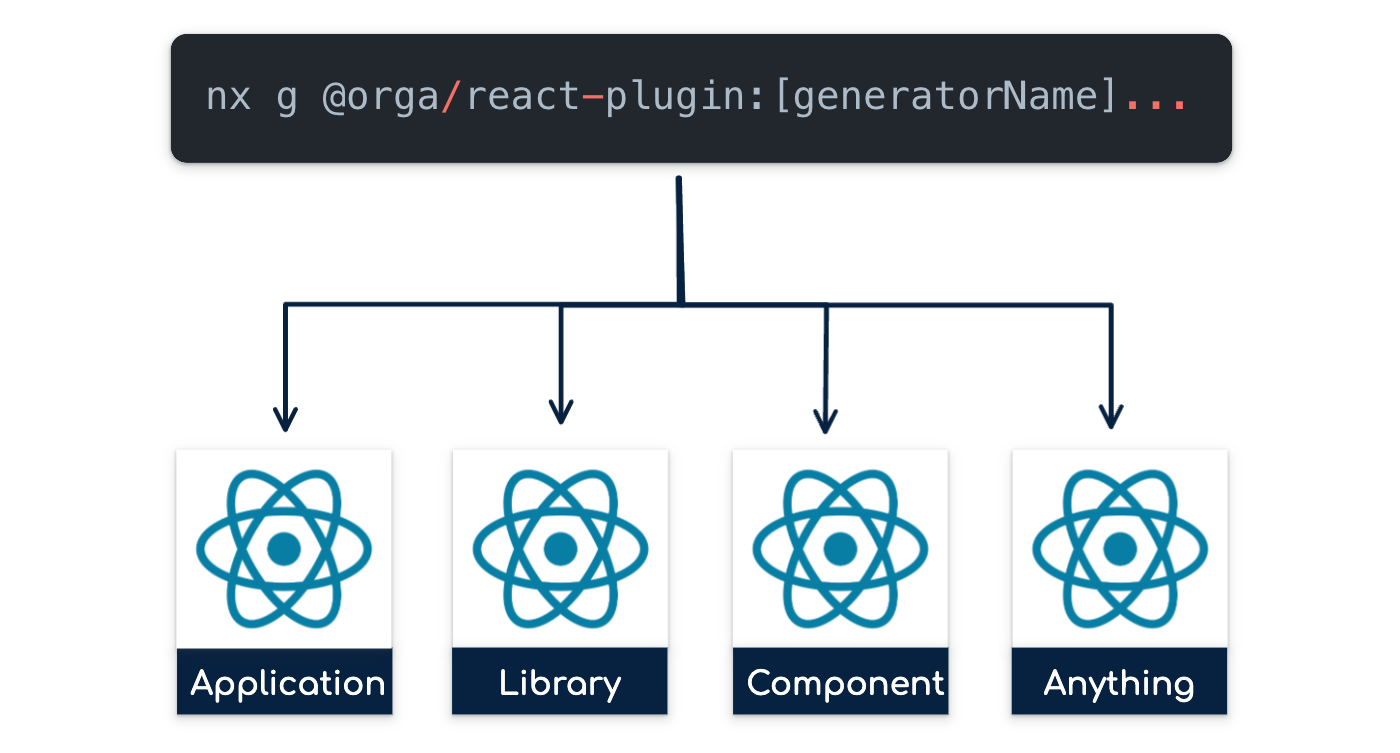
By implementing and using internal generators, you ensure that everyone generates their projects in a consistent manner.
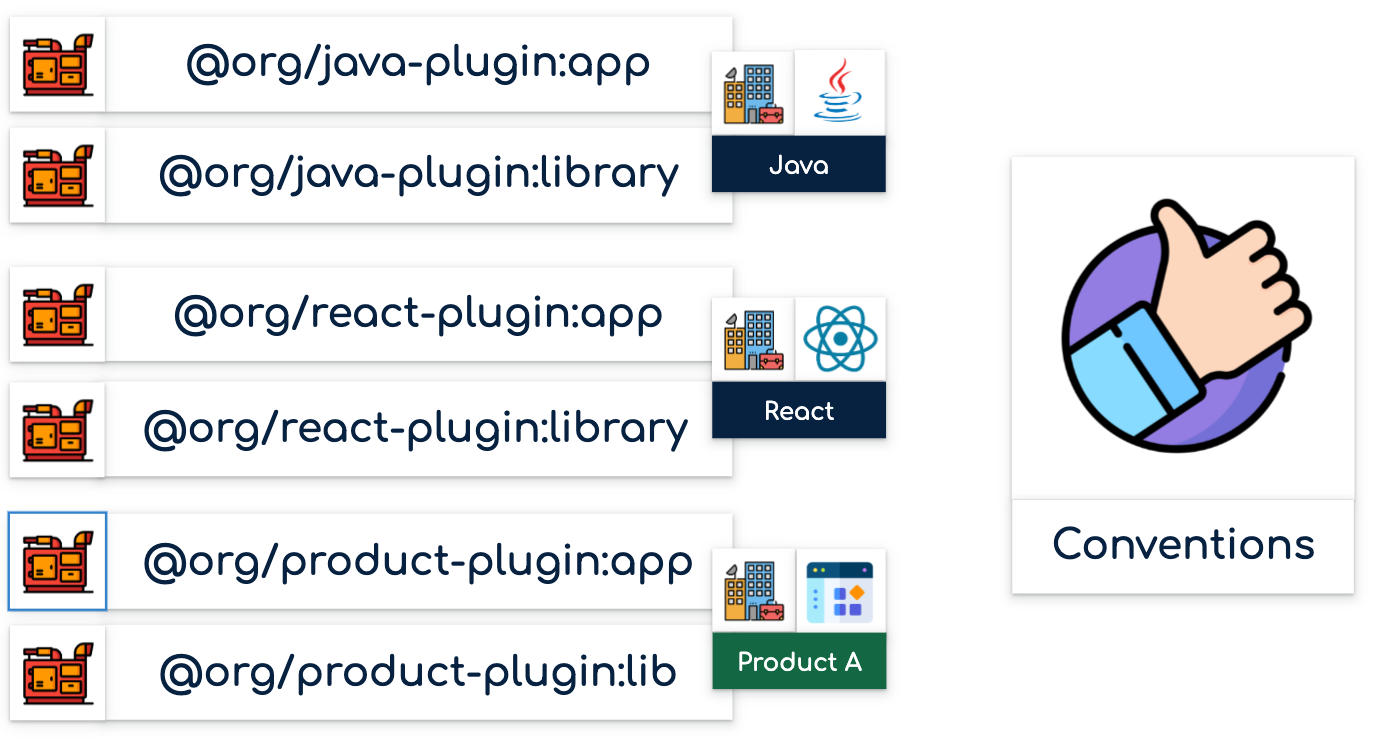
Your generators will be grouped by Nx plugin type, and each plugin can be used and shared internally, reinforcing your conventions.
Tasks Abstraction
One of the main benefits of using an Nx Monorepo is the ability to standardize how tasks are executed by implementing custom executors for each Project-Type:
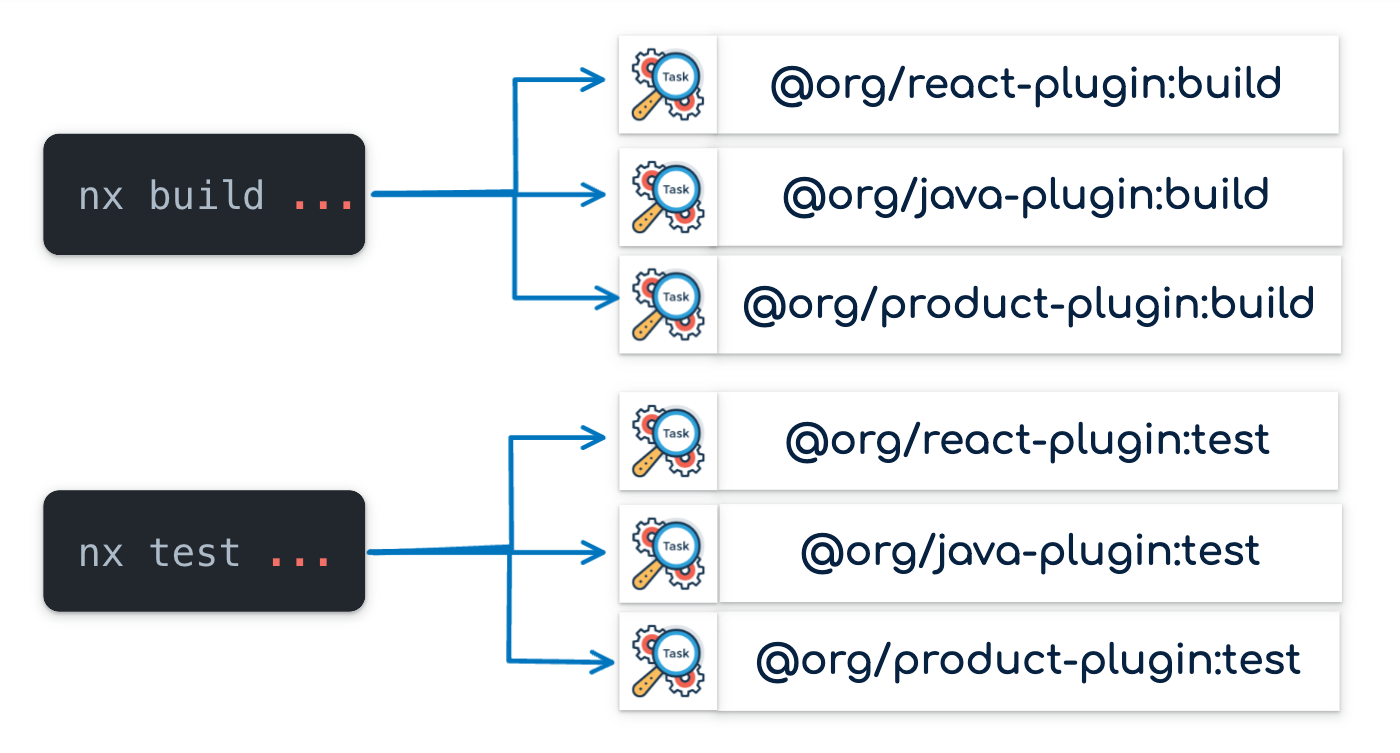
By doing so, you can ensure that no matter which tech stack is being used, conventions are enforced through the execution and naming of tasks.
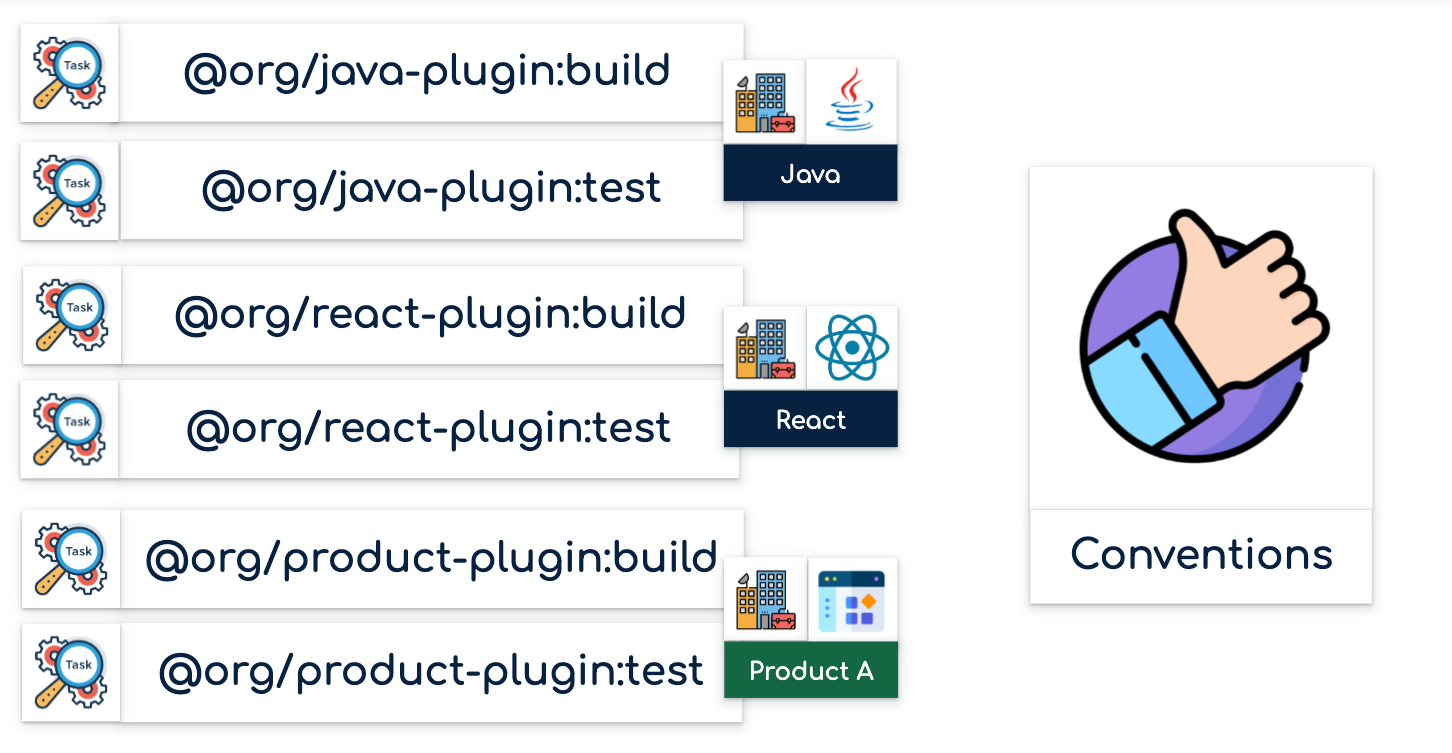
These executors, like the generators, will be grouped by Nx plugin type and shared internally.
Inferred Project Configurations
In an Nx Monorepo, you can inject configuration into projects that follow specific patterns or conventions:
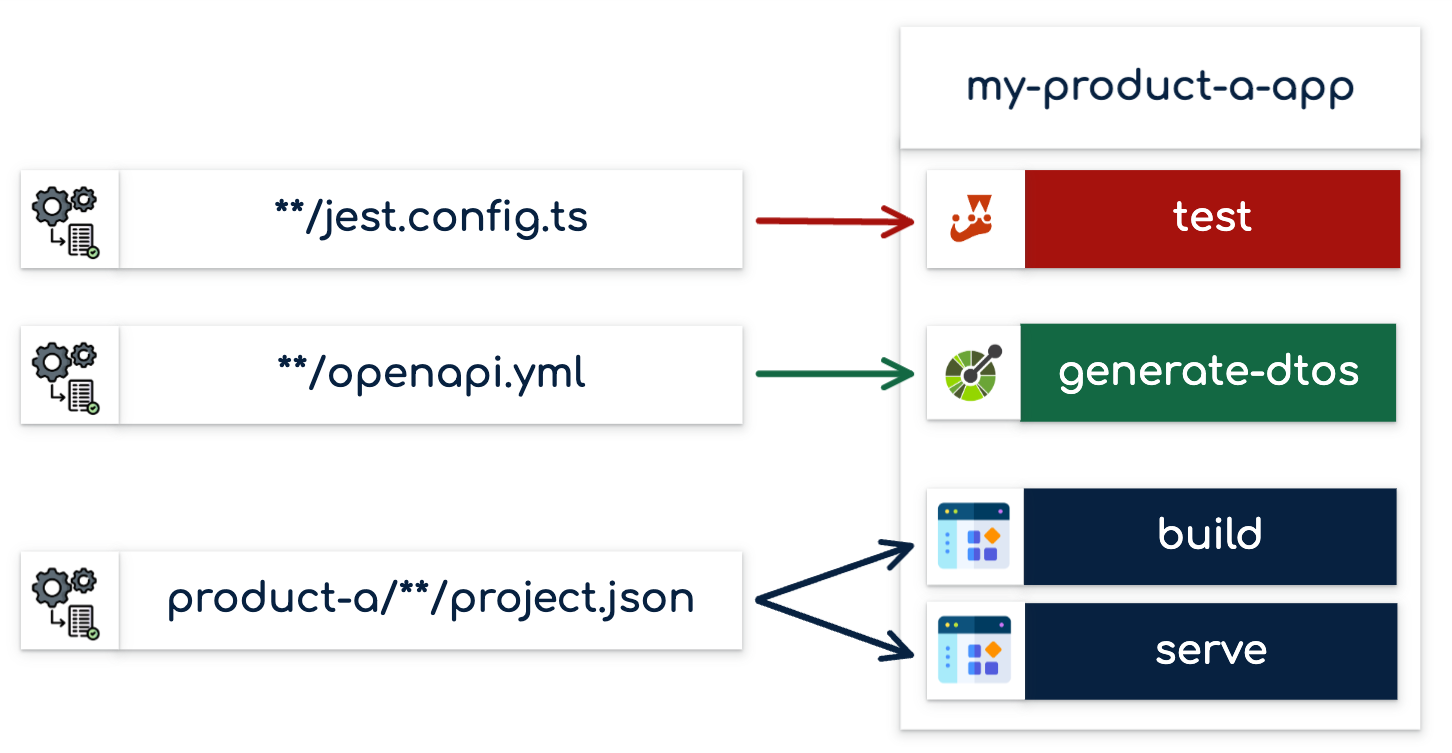
Various plugins can influence project configurations:
The Jest plugin configures your project for testing with Jest if it detects a
jest.config.tsfile.The OpenApi plugin will notice an openapi.yml file and generate entities accordingly.
The Product plugin, specific to your business, knows how to build and serve certain projects within your Monorepo based on their location
This method of enforcing conventions is effective because if users don’t follow them, the project simply won’t work.
Shared Configs/Utils
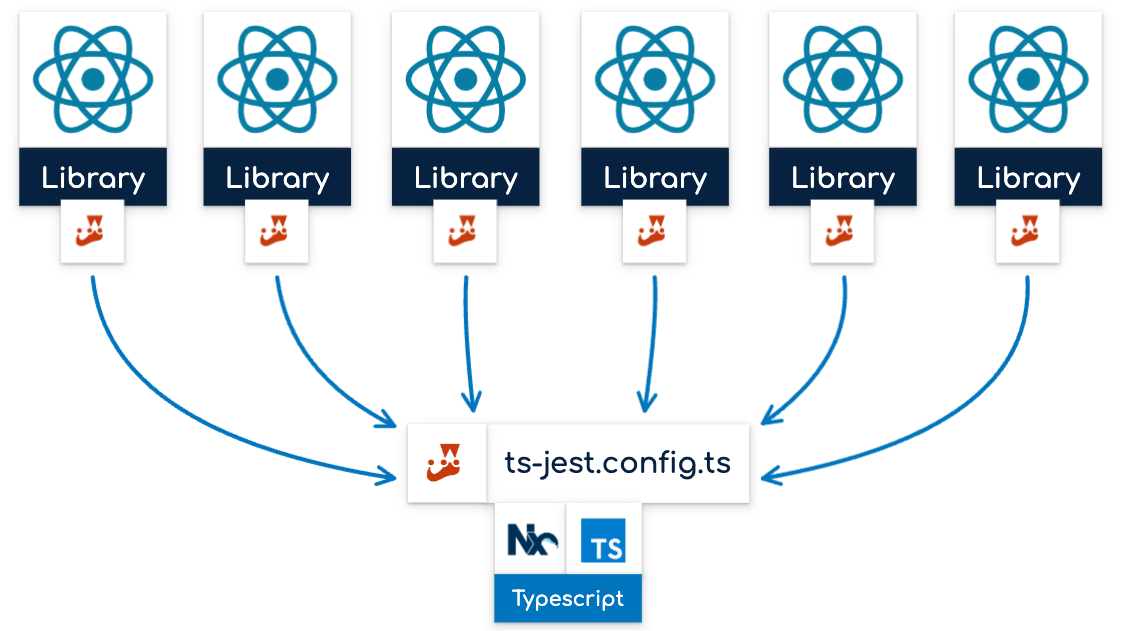
As your Monorepo grows, you may see duplicate configurations for tools across projects:
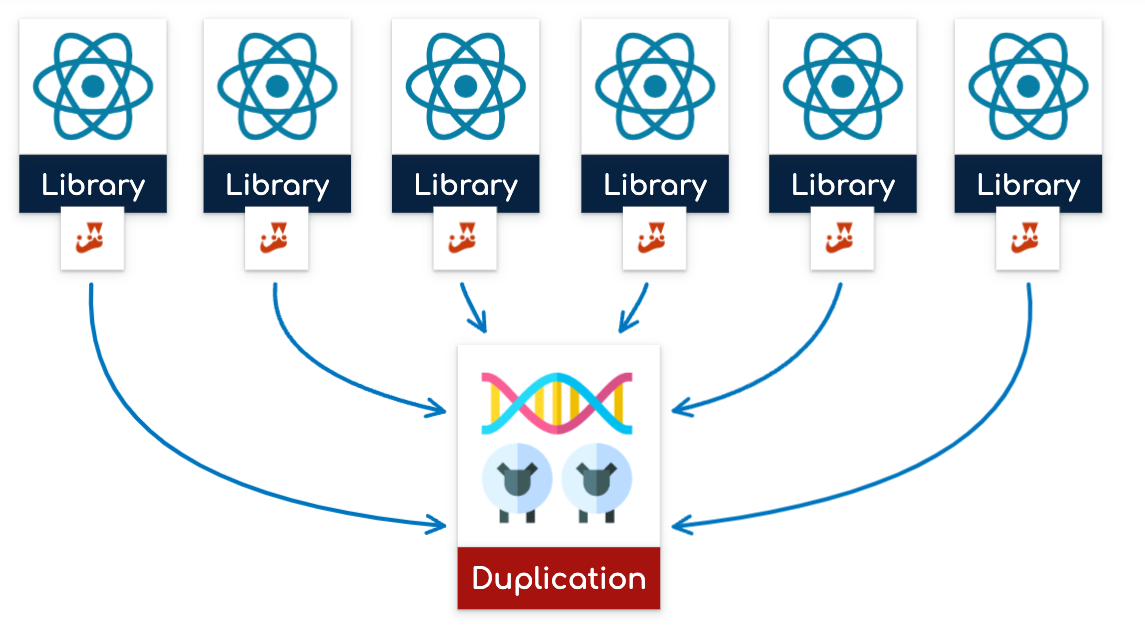
For instance, you could have the same Jest configuration in many different projects. Over time, for equivalent Project-Types, configurations may diverge due to inconsistent maintenance.
With the Nx Plugin architecture being Project-Type oriented, you can centralize tool configurations used by related projects:
House-Keeper
Now that you have a solid plugin architecture grouped by Project-Type, complete with generators, executors, inferred configurations, and shared configs/utils, it’s time to maintain consistency.
Over time, you’ll start to notice that the configurations between projects of the same type begin to differ. Some projects may be better maintained than others due to manual changes.
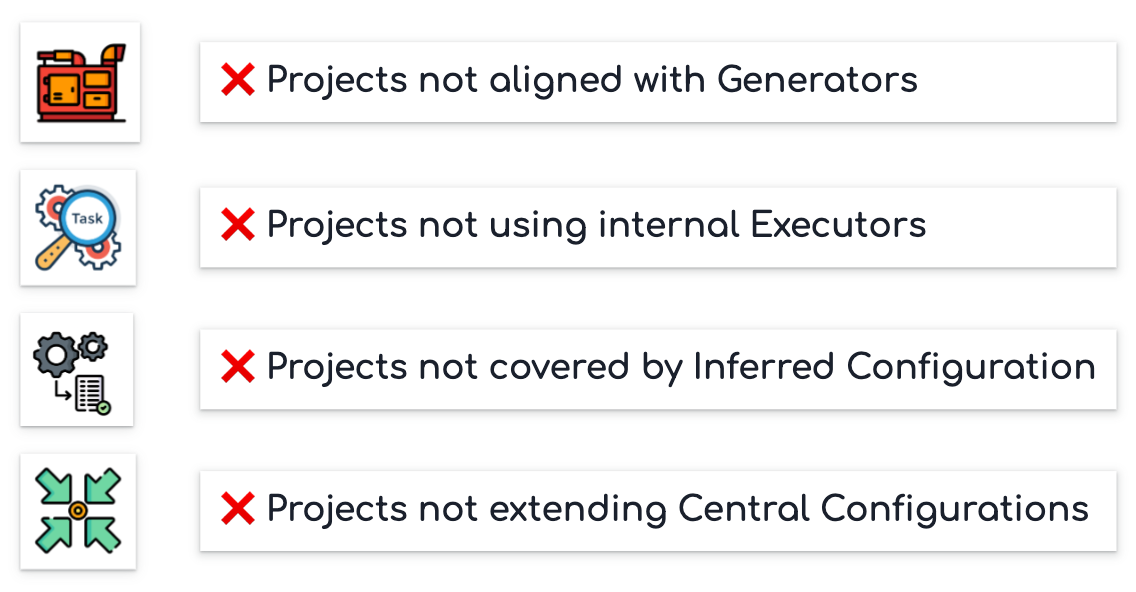
To ensure that the entire Monorepo adheres to the conventions, a tool is needed. Enter the House Keeper, a validation tool that ensures all projects and configurations are in line with your conventions.
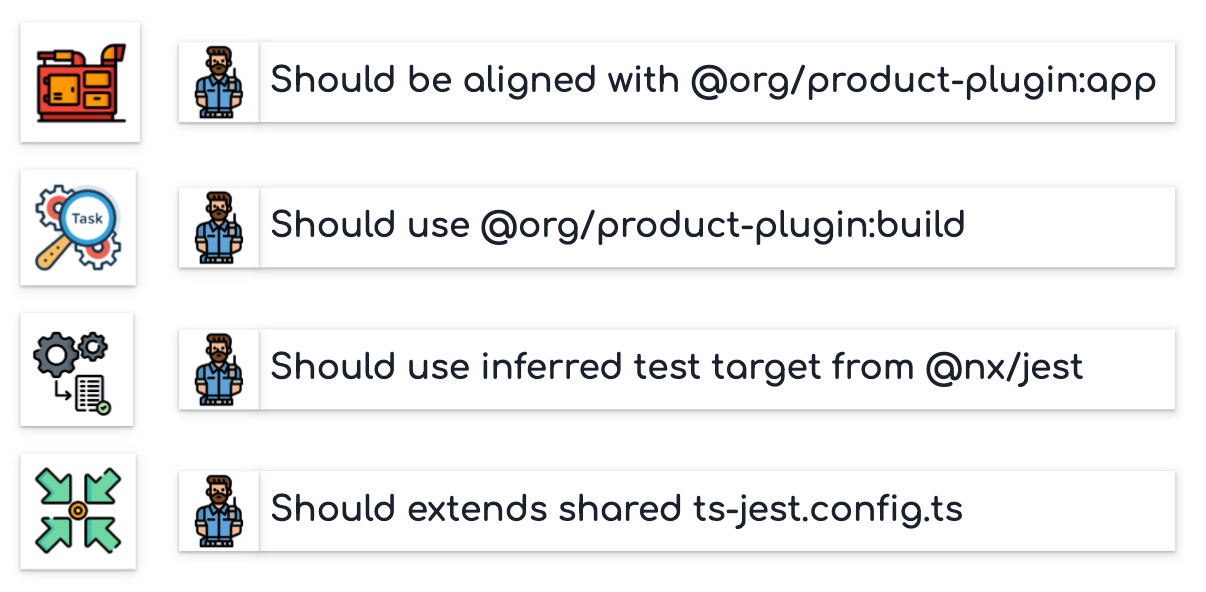
There are various ways to implement the House Keeper. You could use simple tests with Node.js or even generators.
With the new Nx Powerpack, you can now use the conformance feature to ensure that your Monorepo respects your conventions.
Phase III. Spread Conventions
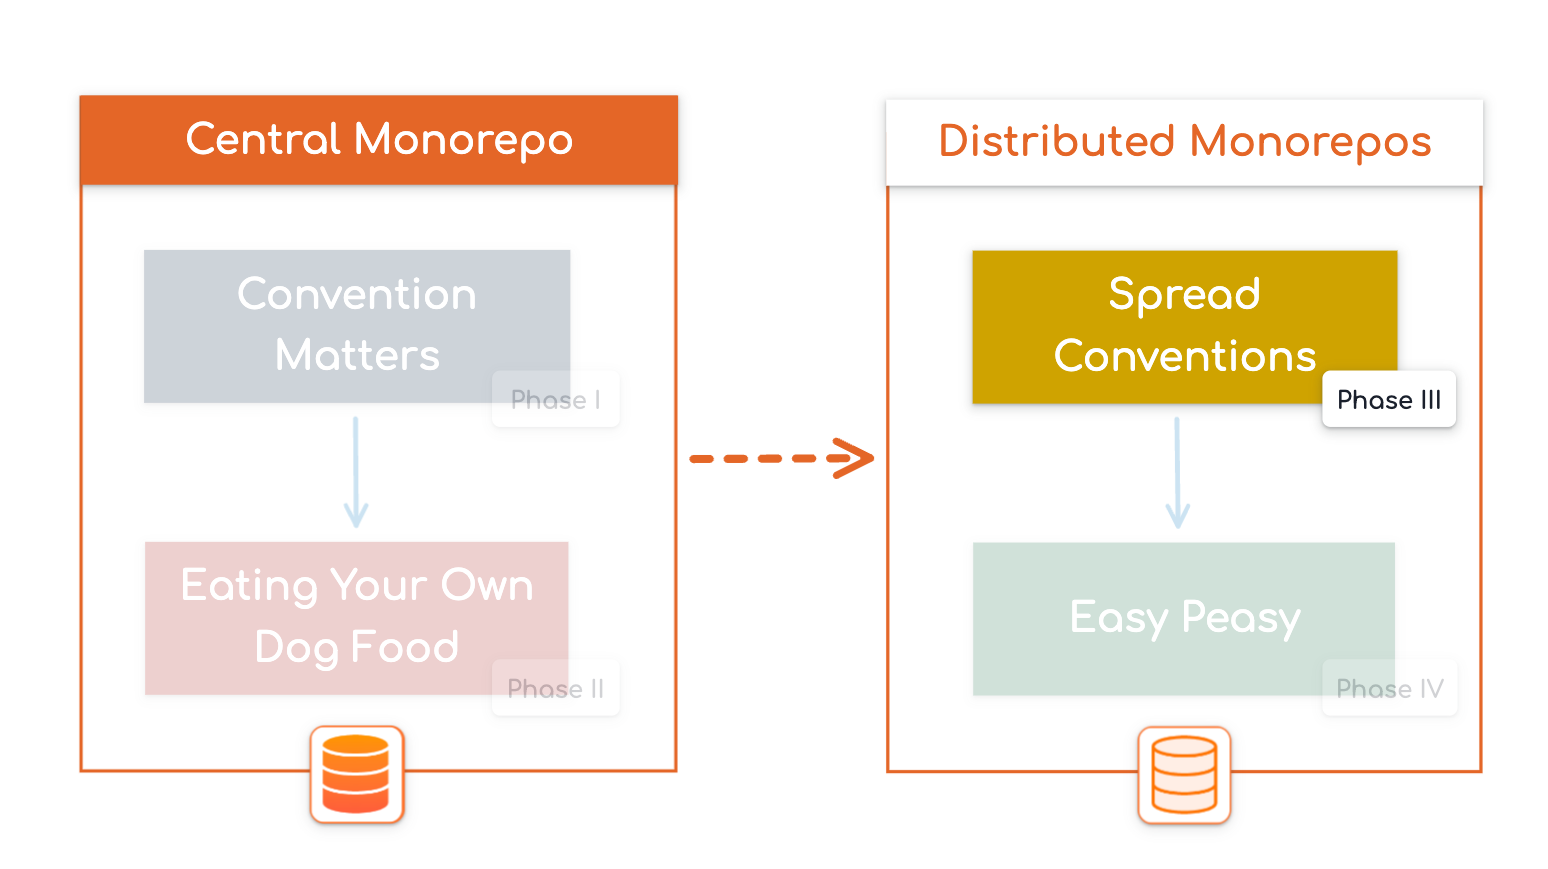
Okay, so we’ve defined our conventions and provided ways to use them in our Central Monorepo. Now, let’s see how we can spread these conventions, tools, and processes to Distributed Monorepos.
We can facilitate sharing by implementing three key features in our architecture:
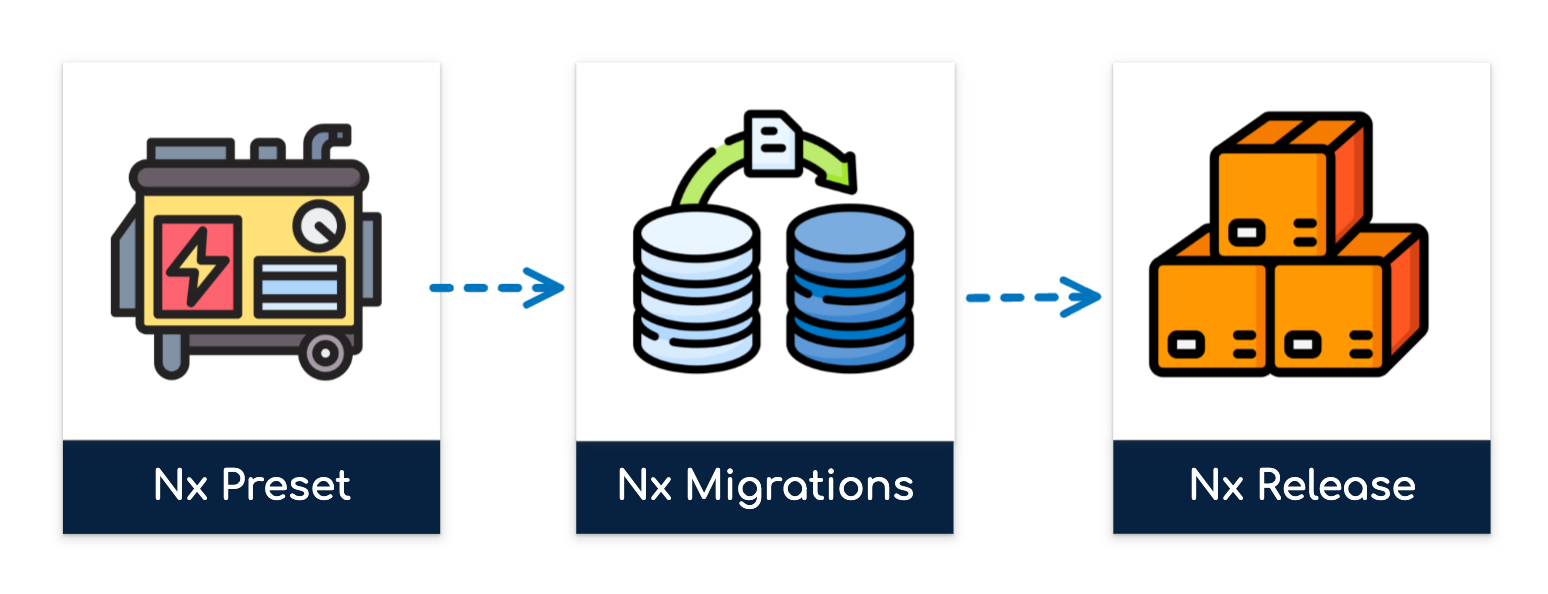
Nx Preset
Before applying conventions, you first need to generate your Distributed Monorepo.
Nx already provides a way to generate a Monorepo using the CLI command create-nx-workspace. This CLI generates an empty workspace with global Nx configurations and presets that add extra configurations based on the stack or type of Monorepo.
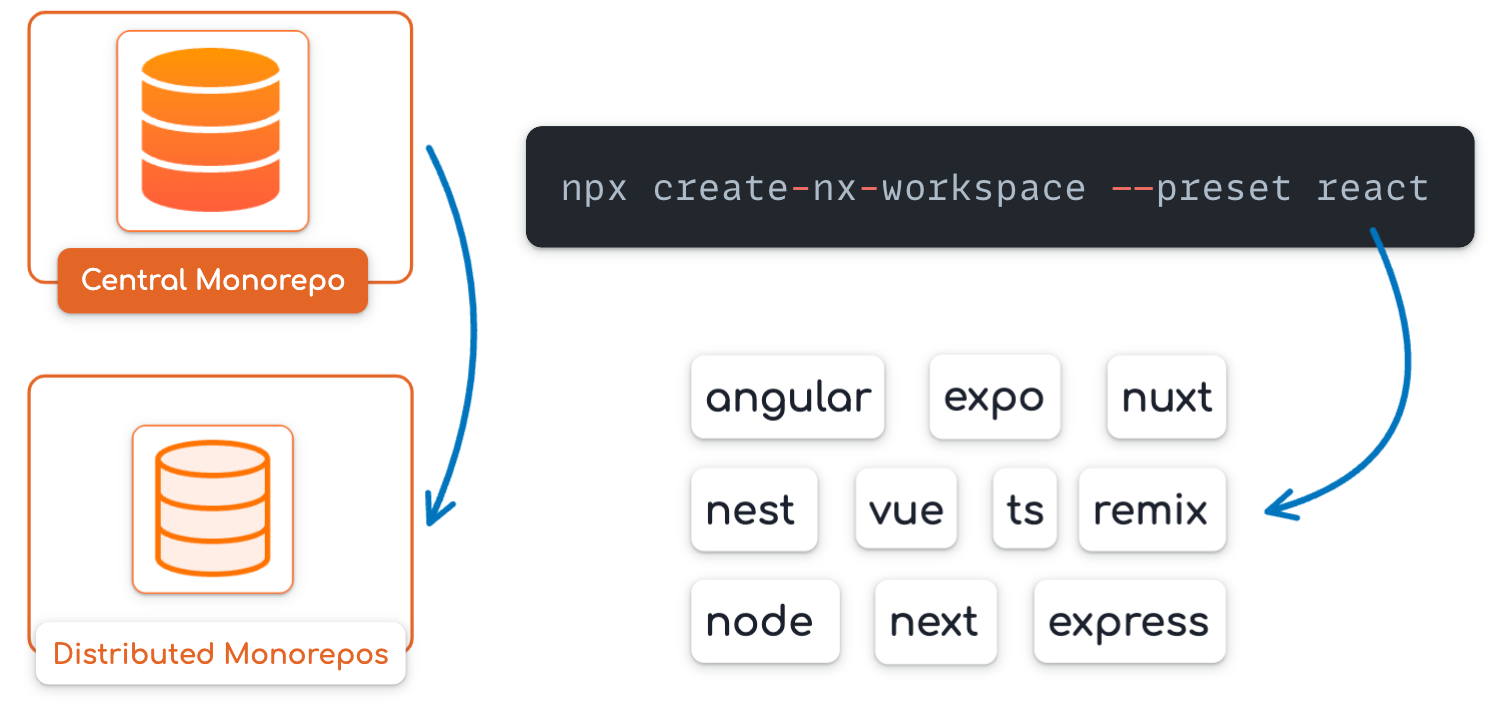
If you need to generate a Distributed Monorepo in the same way, with the same initial configurations, you can create your custom presets.
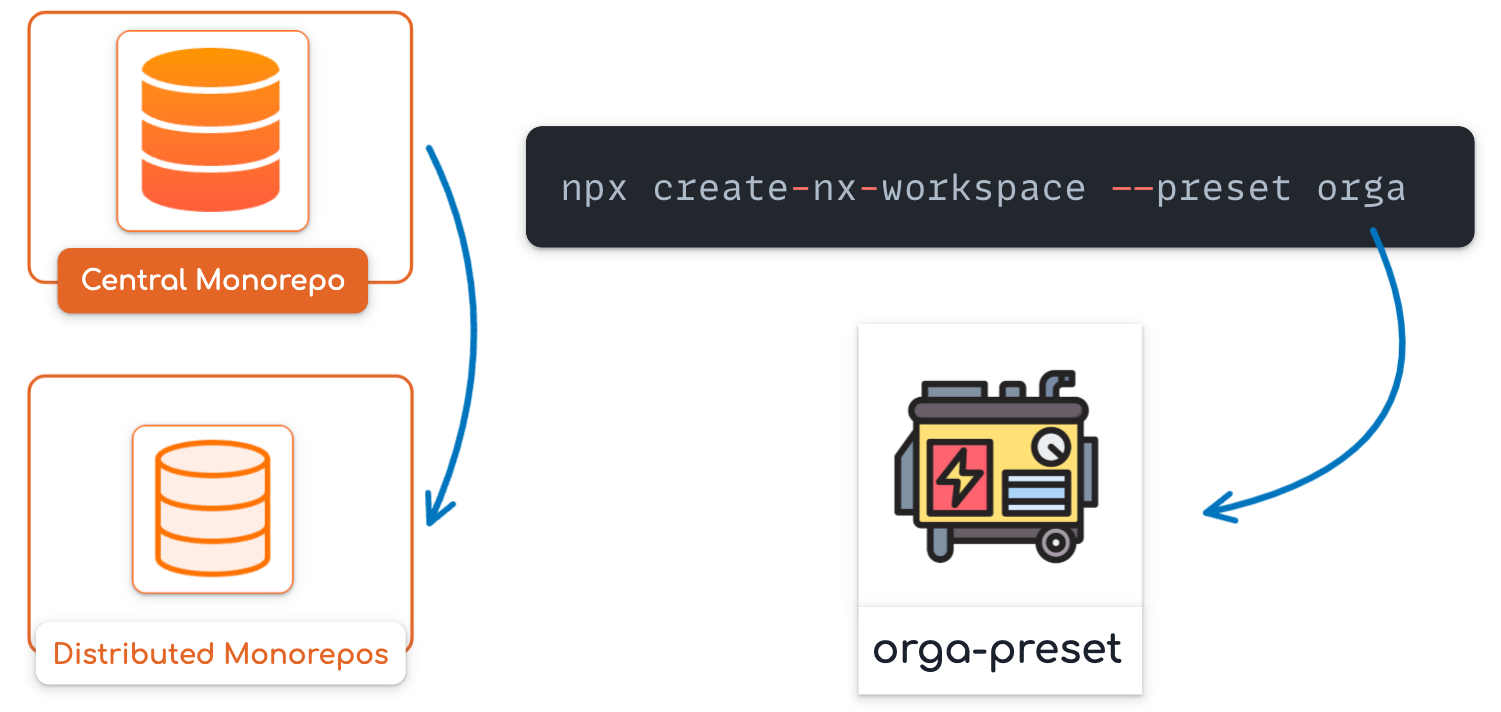
Simply generate a new generator named preset and implement it:
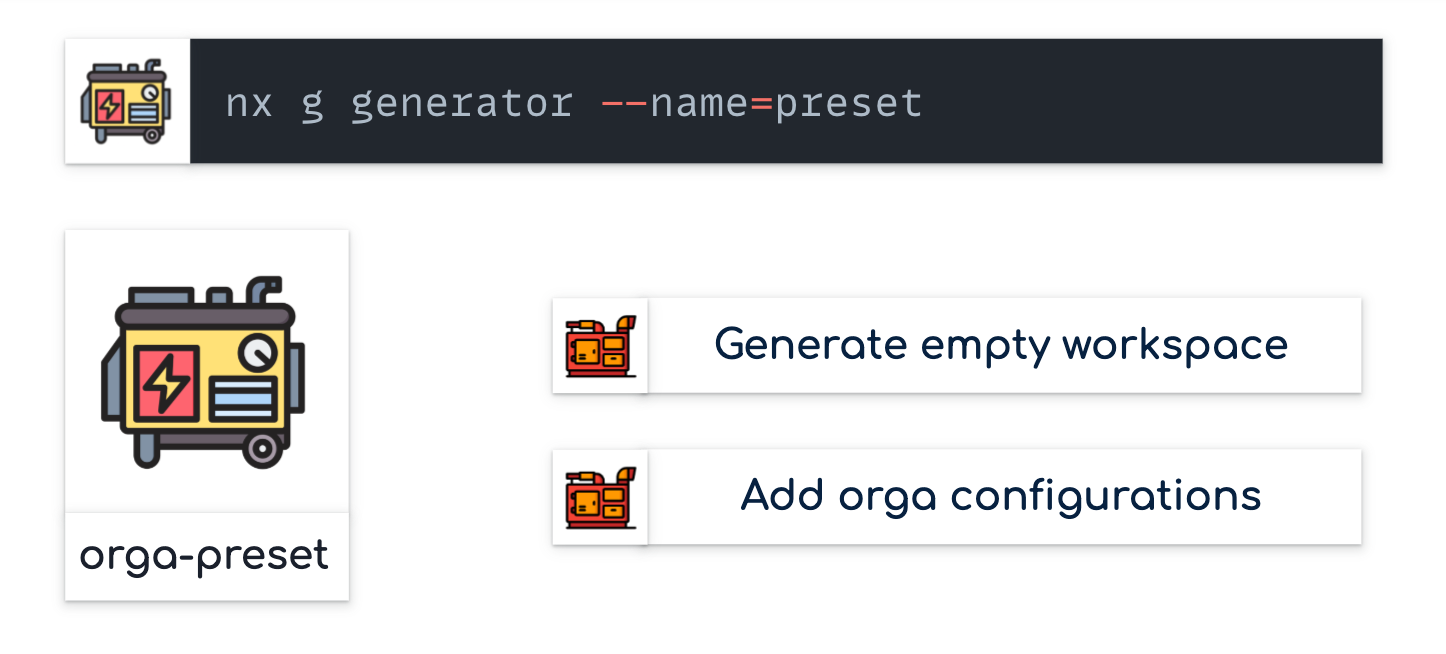
It will first create an empty workspace, then apply your specific configurations as with any type of generator.
Nx Migrations
Presets are useful for Monorepo generation, but how can you maintain them long-term? This is where migrations are invaluable.
If you’ve used Nx, you’ve probably applied migrations during version upgrades:
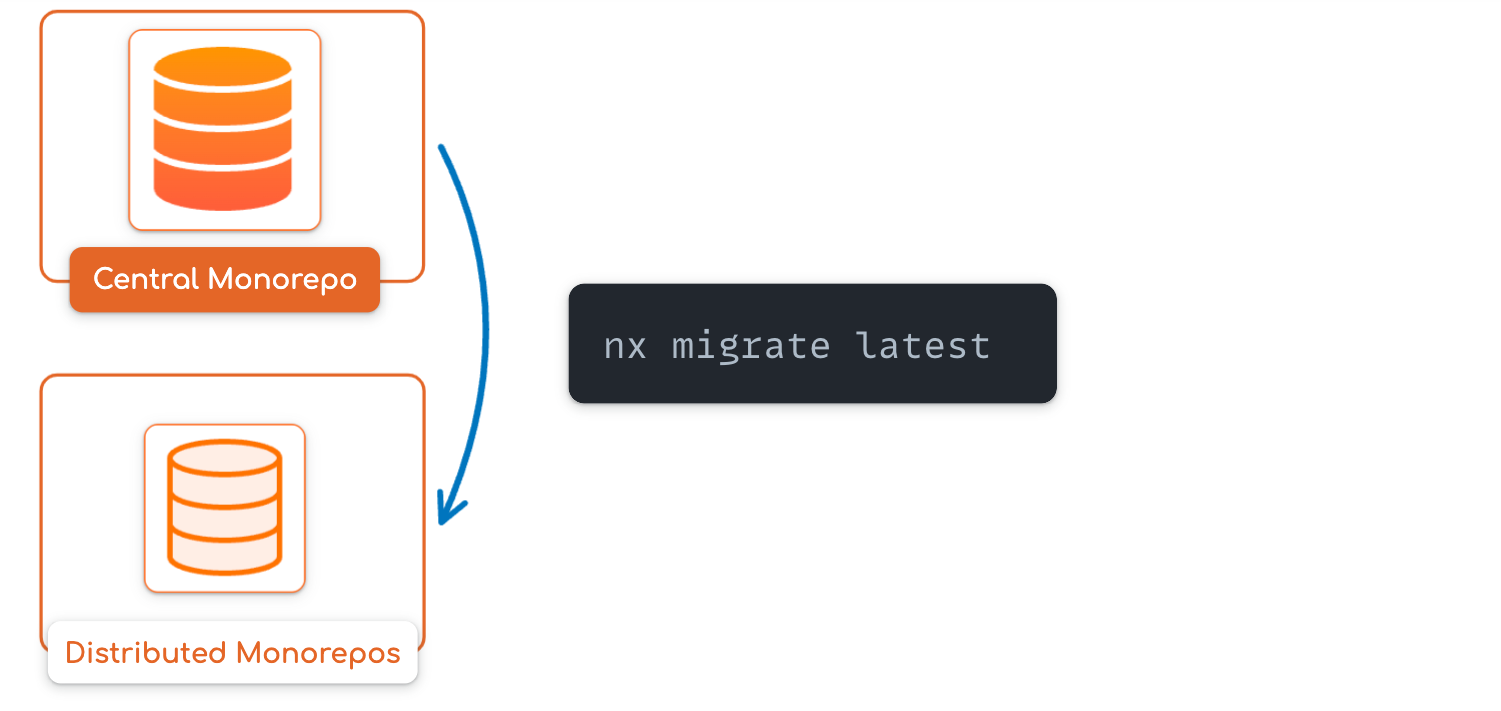
You specify that you want to upgrade Nx to the latest version, and Nx will download the latest version of each library and run the necessary migrations.
Similarly, you can create custom migrations for your Nx plugins:
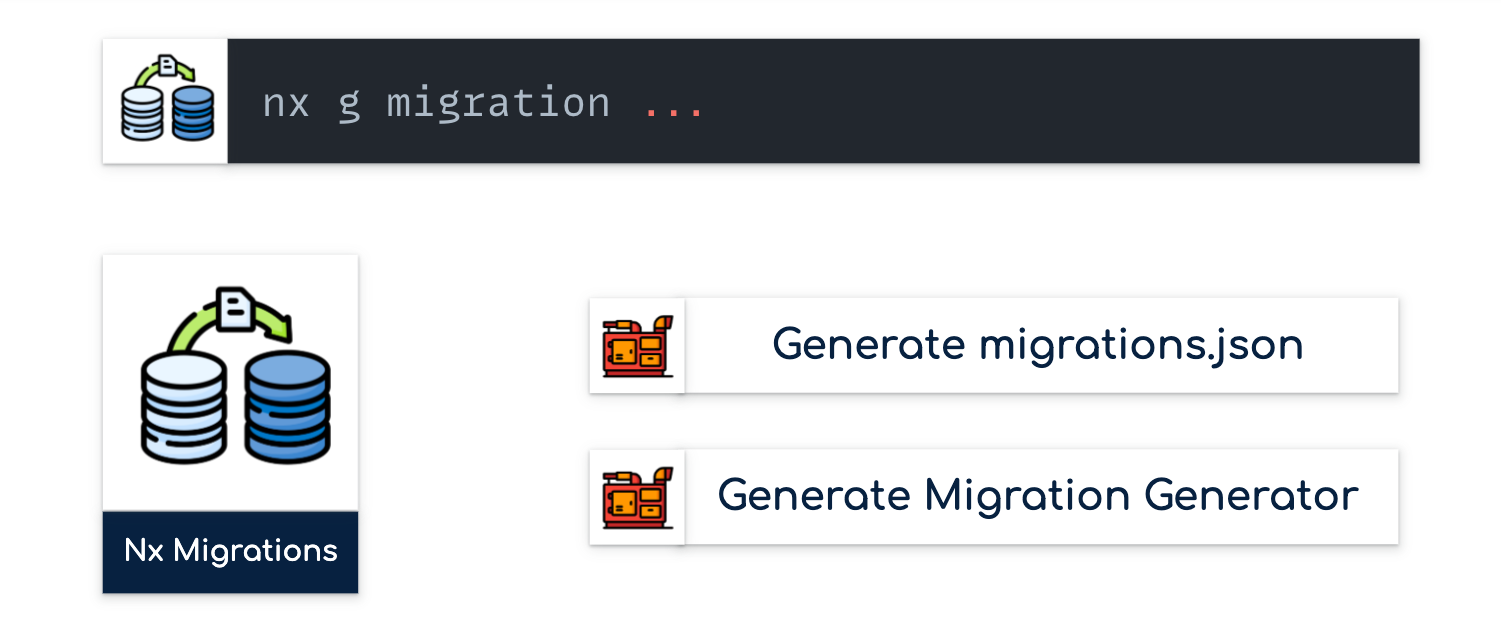
This is done by configuring an Nx Plugin to support migrations through the creation of a migrations.json file, which contains plugin-related migrations per version.
A migration typically consists of two key elements:

Generators: Each migration can define a list of generators that are specified in the
migrations.jsonfile for a particular version of your plugin.Package Versions: Whenever you update a Distributed Monorepo, you can also update the list of package dependencies automatically by specifying them in the
migrations.jsonfile.
Another critical aspect of applying migrations across multiple Nx Plugins is the use of packageGroup in your main Nx Plugin. Typically, I create a plugin called @org/devkit that contains references to all other plugins in the package.json file:
{
  "nx-migrations": {
    "migrations": "./migrations.json",
    "packageGroup": [
      "@org/ts-devkit",
      "@org/github-devkit",
      "@org/java-devkit",
      "@org/jest-devkit",
      "..."
    ]
  }
}
This way, you won’t need to manually run migrations for each Nx Plugin you create. Instead, you can use this approach to streamline the process.
Nx Release
One of the most critical parts of spreading your conventions is making them available by publishing them. This is why it’s essential to group the tools used together in the Distributed Monorepos:
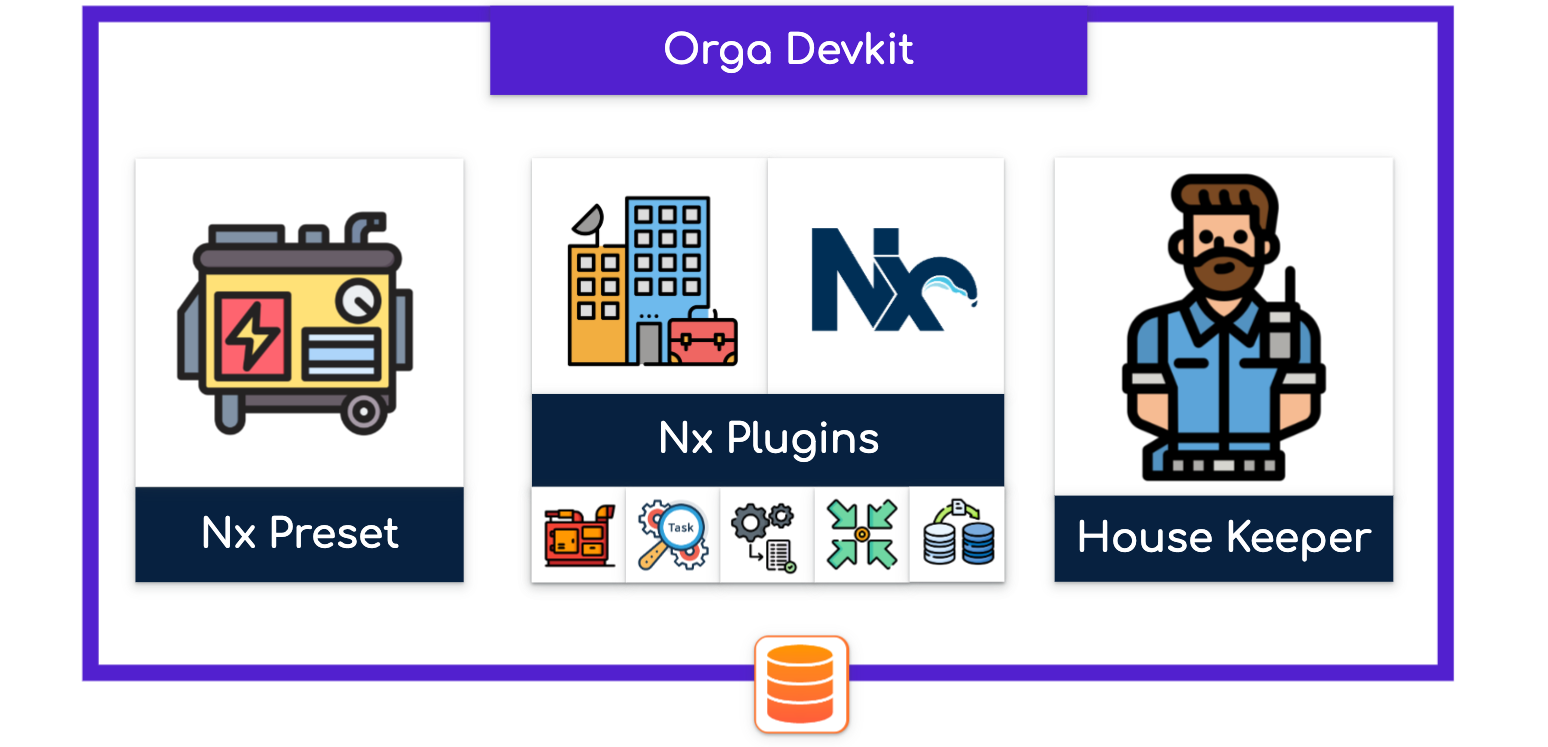
This group will be your “devkit,” containing previously created Nx Plugins, the House Keeper CLI, and the preset (if needed).
By leveraging Nx’s release functionality, you can easily publish multiple projects while adhering to the single-version policy, simplifying integration.
Phase IV. Easy Peasy
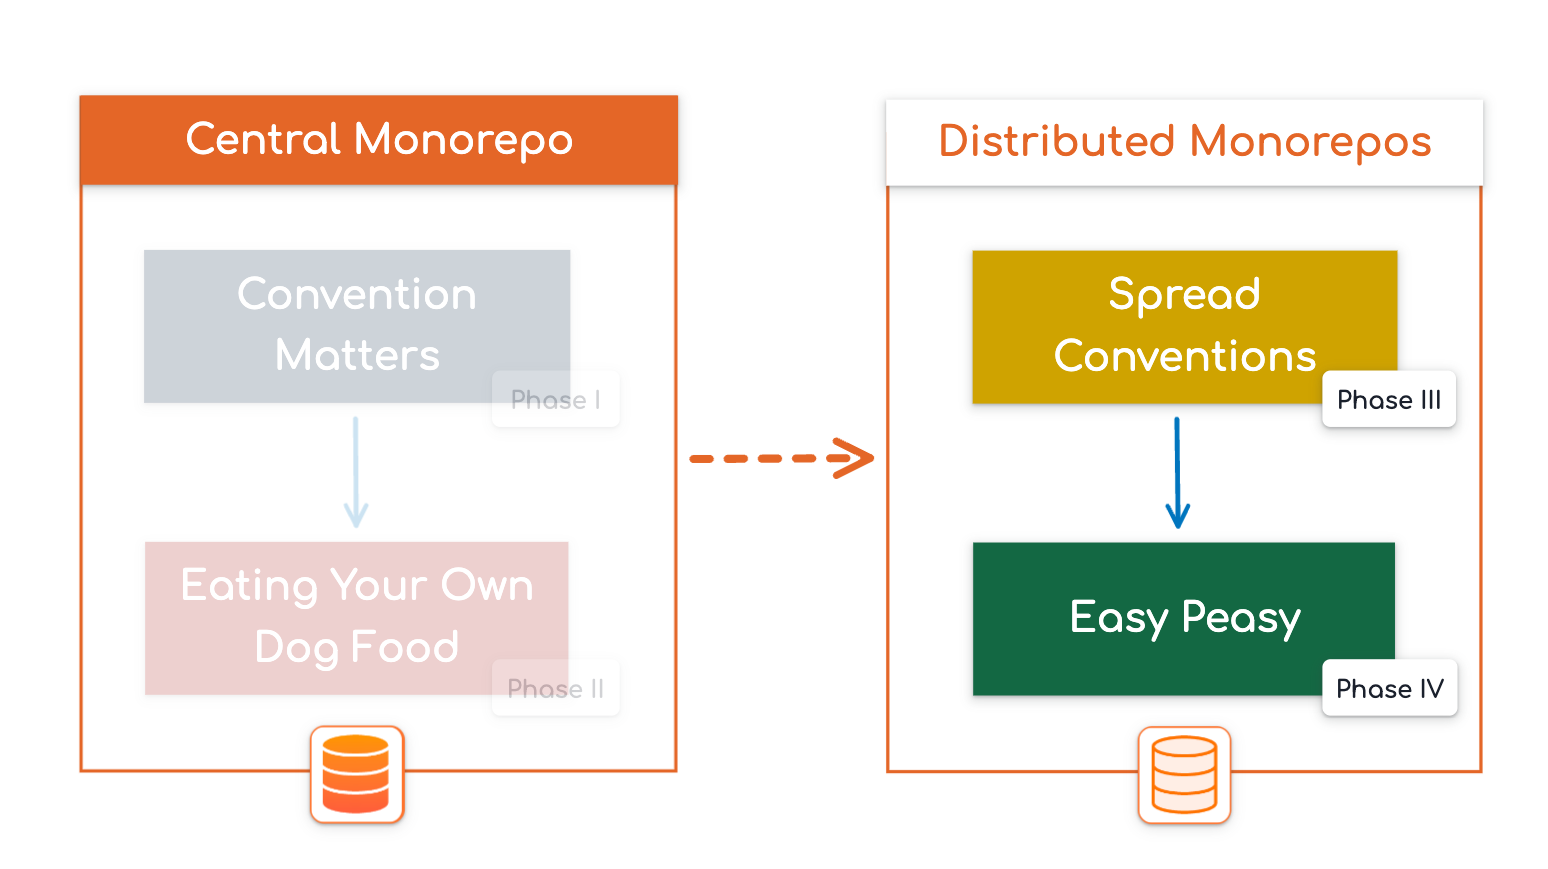
Now that we’ve defined conventions and made them available in the Central Monorepo, we’re ready to apply those conventions to Distributed Monorepos. This can be done with just three simple commands:
Generate Your Distributed Monorepo
To generate a new Monorepo, use your preset by running the appropriate command:
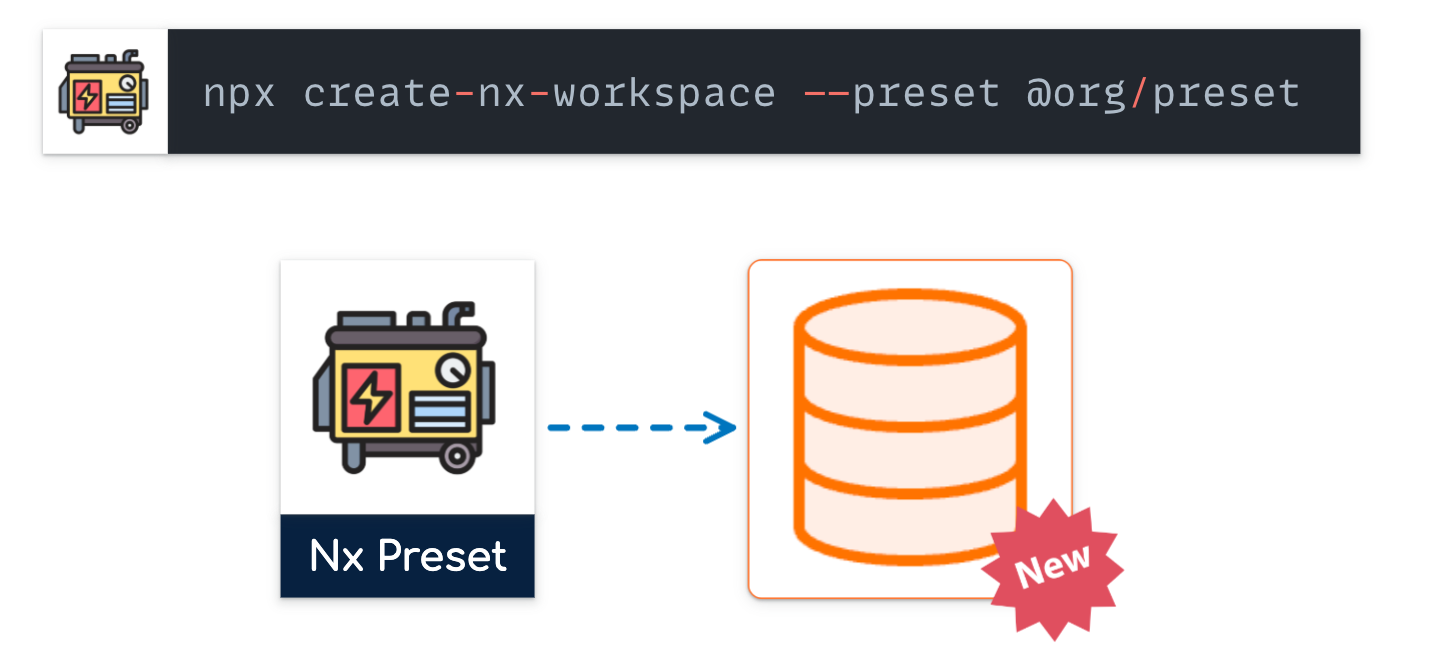
This will only be necessary once, during initial setup.
Maintain your Distributed Monorepo on Long Term
Keep your Distributed Monorepo up to date by applying migrations:
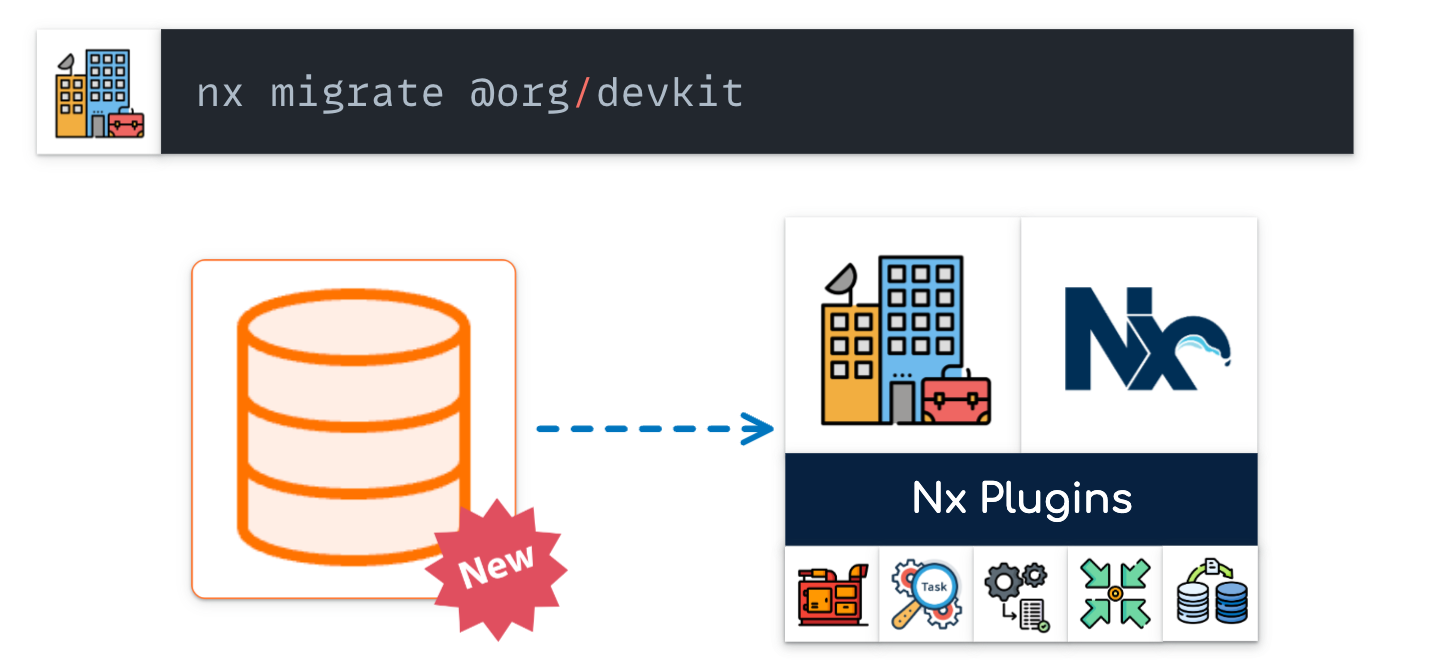
With this approach, you’ll benefit from all the features that your Nx Plugins provide.
Ensure you are Aligned
To ensure continuous alignment with the Central Monorepo, run the House Keeper:
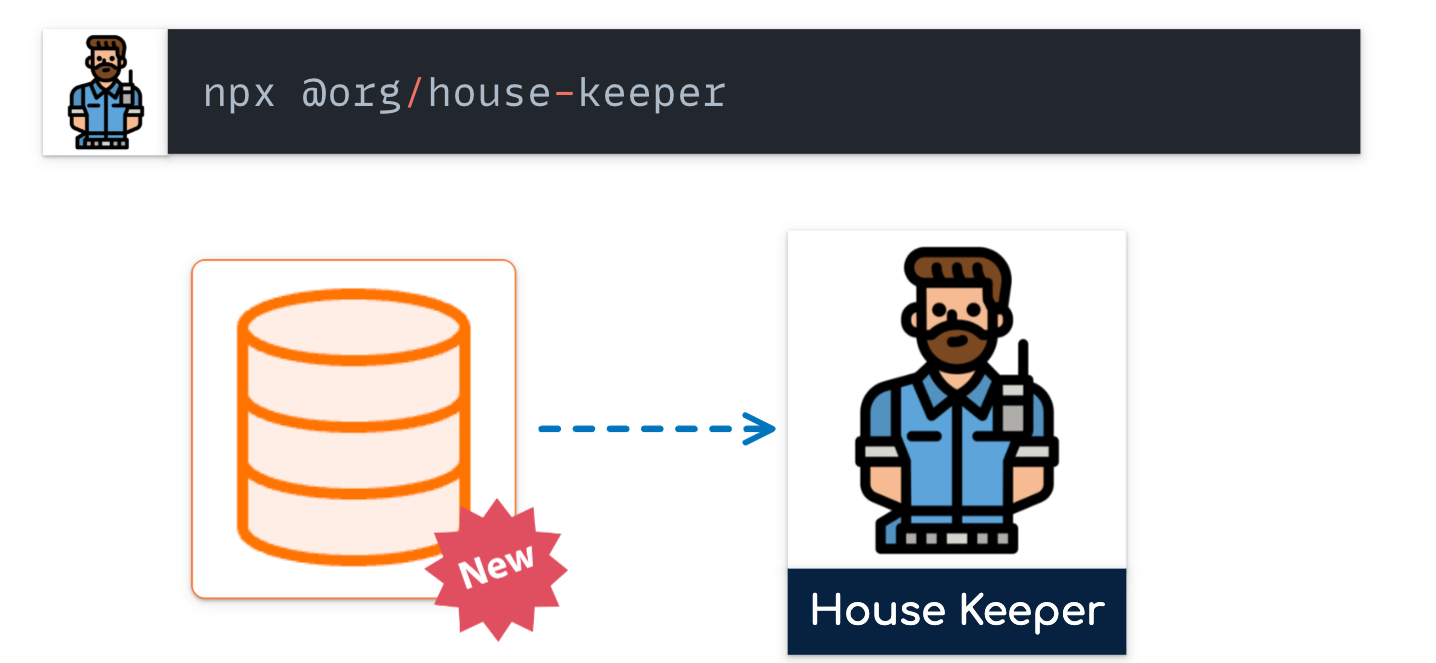
Typically, this tool is executed in CI to guarantee adherence to conventions.
Tips
Channel of communication
Having technical solutions to share conventions is great, but that alone won’t guarantee adoption.
It’s crucial to open communication channels between teams to discuss and agree upon conventions together. This empowers teams and makes integration smoother.
The tools you provide should be seen as supportive, not restrictive. If developers find value in them, they will be more inclined to use them.
Inferred Configuration for Generators, Executors, and Migrations
When you start working with Nx customizations, you’ll quickly see how challenging it is to keep them aligned.
Over time, generators can fall out of sync with the projects they generate. You may find yourself creating multiple custom executors just to adjust options of the default ones. And each time you write a migration, there’s the worry of missing something critical for a distributed repo.
Inferred configurations can help solve these issues. Generators become simpler because custom configurations are handled within the plugin itself. You need fewer executors since you can use nx commands or set custom configurations based on the project. Fewer migrations are needed, as distributed repos only need to update to adopt the new code and configurations.
Inspired By Nx
Nx is the perfect example of a central mono repo creating tools for distributed repositories. Before reinventing the wheel, checking how Nx solves some architecture is really helping
Summary
As we’ve explored in this article, it’s not about choosing either a Polyrepo or Monorepo architecture exclusively. Both have valid use cases, depending on the context.
An effective approach is to manage distributed Monorepos from a Central Monorepo, combining the strengths of both architectures.
By following the four phases outlined here, you’ll ensure that your Central Monorepo is well-prepared before spreading conventions to Distributed Monorepos.
The technical implementation of these features can be found in the Nx documentation.
Stay Tuned 🚀
Talks
Monorepo World Conf 2024
React Brussel 2024

